banner
Home - Products - Journal Notebook - Spiral Notebooks
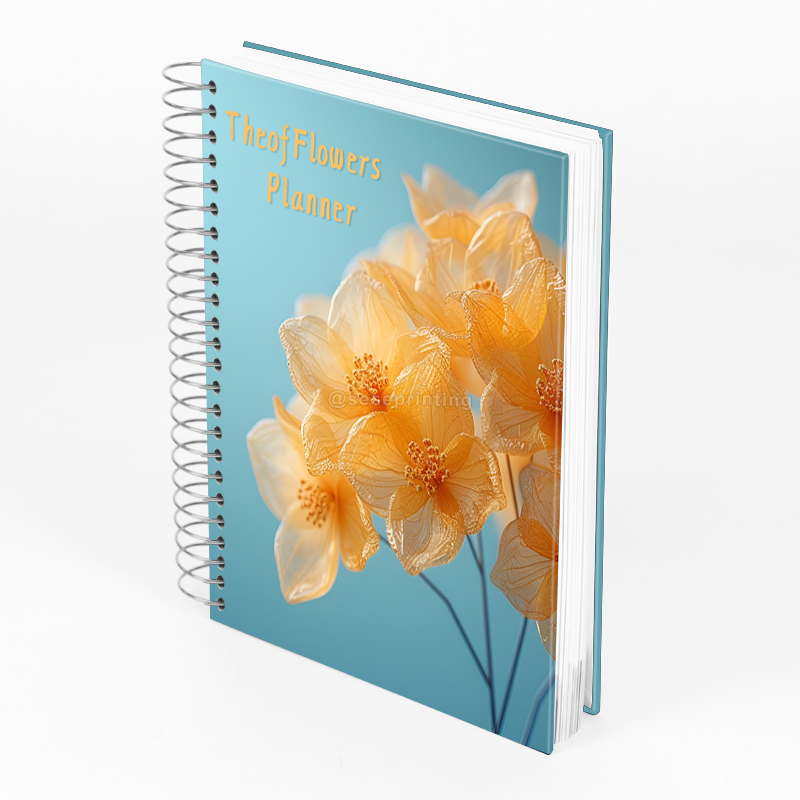
Diary Journal Printing Hardcover Spiral Notebook Weekly Planner

Diary Journal Printing Hardcover Spiral Notebook Weekly Planner

Name: Spiral Planner
Material: Coated Cover
Finishing: Foil Stamping Logo
Color: CMYK
Size: A5
MOQ: 500 pcs
OEM service: Yes
Package: Bubble Bag + Strong Carton
Produt Details

Diary Journal Printing Hardcover Spiral Notebook Weekly Planner

Product details

Product Name  Custom Planner
Material Art Paper, Kraft Paper,Coated Paper, White or Grey Paper, Silver or Gold Card Paper, Special Paper Etc.
Binding Wire-O Binding, Spiral Binding, Hardcover Binding, Perfect Binding, Disc Bound Binding, Binder Binding and Others.
Certification ISO9001, SA8000, FSC
Design From Clients,OEM
Size A4, A5 or Custom
Printing CMYK or Pantone
Artwork Format AI, PDF, ID, PS, CDR
Finishing Gloss or Matt Lamination, Gold Foil Stamping, Emboss, Deboss and More

Printing a hardcover spiral planner involves a few steps and considerations to ensure a professional and functional final product. Here's a general overview of how you can go about creating and printing a hardcover spiral planner:

Design the Planner:
Start by designing the layout of your planner. Consider the page size, the number of pages, the layout of the calendar, sections for notes, to-do lists, etc.
Use design software to create your planner template.

Select Paper Quality:
Choose the paper quality for your planner. For a higher-end feel, you might want to opt for thicker paper that can handle writing without bleed-through.

Cover Design:
Design the cover for your planner. This includes the front cover, back cover, and even the spine if it's wide enough to show a title or features.
Consider the material of the cover. For a hardcover spiral planner, you'll want a durable material like cardstock.

Binding:
Decide on a spiral binding for your planner. This allows the planner to lay flat when open and makes it easier to write in.
Make sure the spiral binding is of good quality and won't easily bend or break over time.

Printing:
Once your design is ready, you can either print it yourself if you have the equipment or use a professional printing service.
Ensure the printer can handle the size and type of paper you've chosen.

Trimming:
After printing, the planner pages will likely need to be trimmed to the correct size. This can be done professionally by the printer or using a paper cutter.

Binding the Planner:
If you are doing this yourself, carefully spiral bind the planner. Make sure to align the holes properly and secure the spirals tightly.

Quality Check:
Before finalizing, do a quality check to ensure all pages are in order, and there are no printing errors or alignment issues.

Finishing Touches:
Add any additional features like tabs for easy navigation, bookmarks, or elastic bands to keep the planner closed when not in use.

Packaging:
Decide how you want to package your planners for distribution or sale. Shrink wrapping or including a protective sleeve can help maintain their quality.

Leave a Message
loading
Technical Support: Magic Lamp
Whatsapp
Send an Email