banner
Home - Products - Journal Notebook - Spiral Notebooks
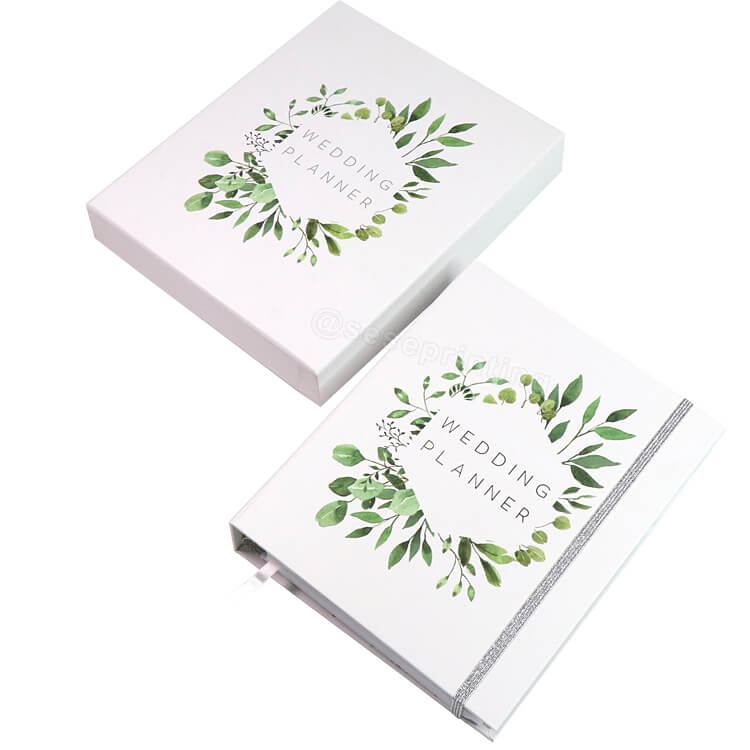
Custom Printing Hardcover Spiral Wedding Planner Set with Box

Custom Printing Hardcover Spiral Wedding Planner Set with Box

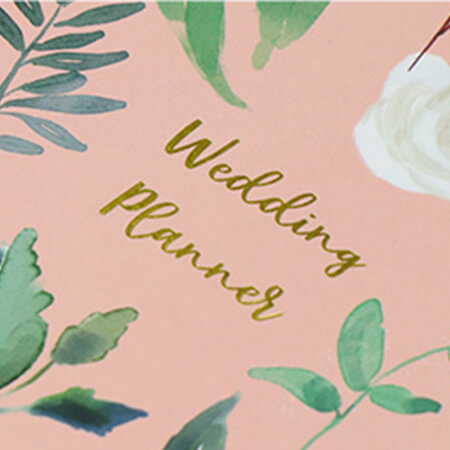
Name: Wedding Planner
Material: Coated Paper
Finishing: Foil Cover
Color: CMYK
Size: A5
MOQ: 500 pcs
OEM service: Yes
Package: Bubble Bag + Strong Carton
Produt Details

Custom Printing Hardcover Spiral Wedding Planner Set with Box

Product details

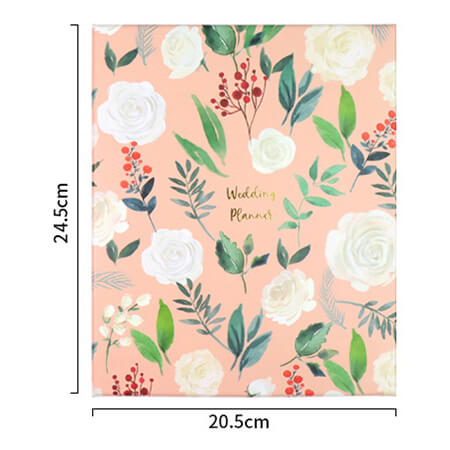
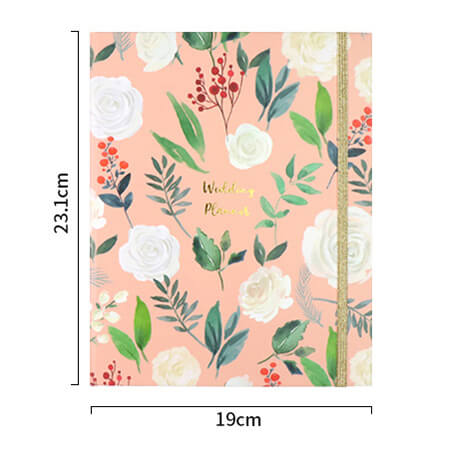
Lid and Base Box Size

Planner Size

Custom Design Your Own Page

Gold Foil Logo

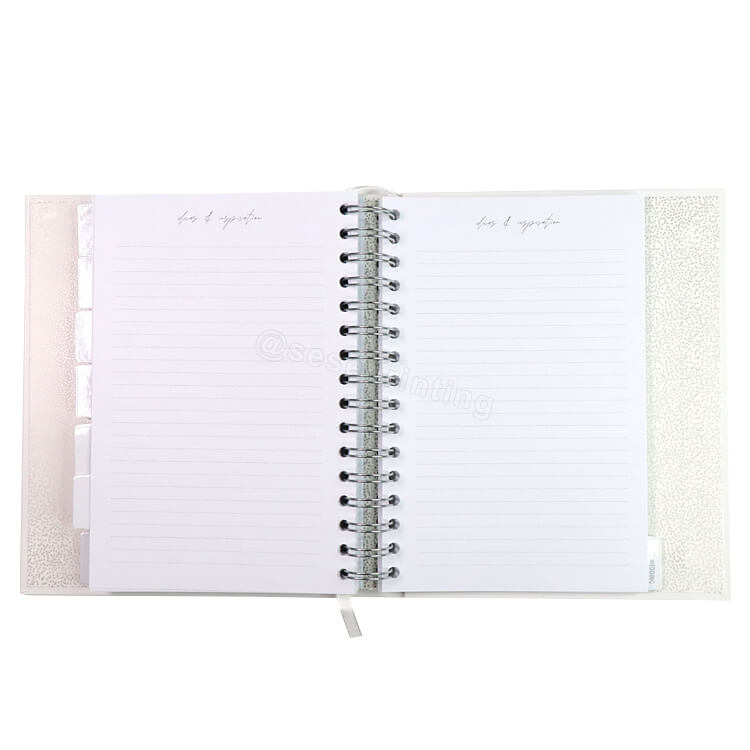
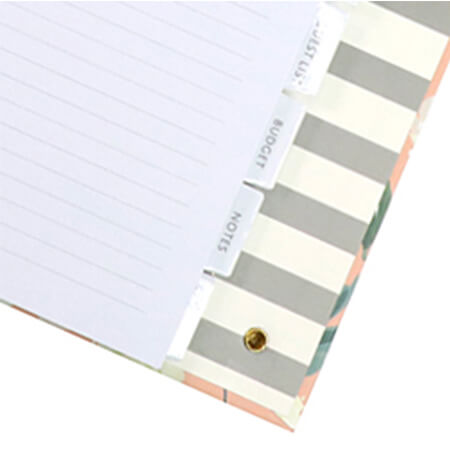
Tabs

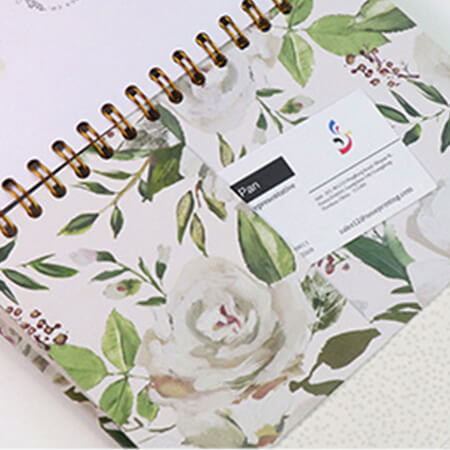
Paper Pocket

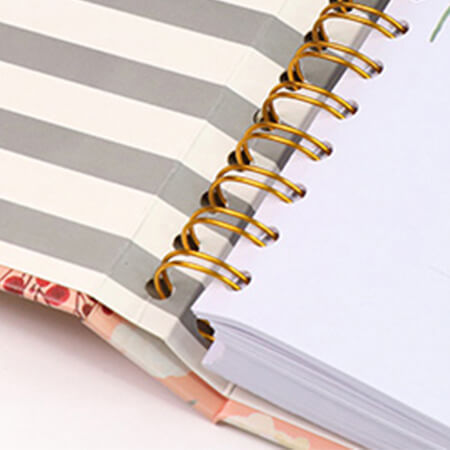
Hidden Wire-o Binding


Product Name  Wedding Planner
Material Art Paper, Kraft Paper,Coated Paper, White or Grey Paper, Silver or Gold Card Paper, Special Paper Etc.
Binding Wire-O Binding, Spiral Binding, Hardcover Binding, Perfect Binding, Disc Bound Binding, Binder Binding and Others.
Certification ISO9001, SA8000, FSC
Design From Clients,OEM
Size A4, A5 or Custom
Printing CMYK or Pantone
Artwork Format AI, PDF, ID, PS, CDR
Finishing Gloss or Matt Lamination, Gold Foil Stamping, Emboss, Deboss and More

Printing a hardcover spiral wedding planner is a unique and functional project. Here’s a step-by-step guide to help you through the process:

1. Planning Your Wedding Planner
Concept and Theme: Define the purpose and theme (e.g., rustic, elegant, modern) and target audience (brides, grooms, wedding planners).
Content: Decide on the type of content (e.g., checklists, budget trackers, timelines, vendor contacts) and layout.

2. Designing the Planner
Layout: Create a consistent layout with clear sections for each page type. Use grids and guides to maintain alignment.
Cover Design: Design an attractive cover that reflects the theme. Consider using foil stamping, embossing, or debossing for added effect.
Typography: Choose elegant, easy-to-read fonts and ensure consistent font sizes and styles.

3. Formatting the Planner
Page Setup: Ensure correct page setup with appropriate margins and bleeds (usually 0.125" to 0.25").
High Resolution: Ensure all images and graphics are at least 300 dpi for clear printing.
PDF Format: Export your design as a high-quality PDF.

4. Selecting Printing Specifications
Page Size: Common sizes include 8.5" x 11" (standard letter size) or 6" x 9".
Paper Type: Choose high-quality paper, typically 80-100 lb, for durability and a premium feel.
Cover Material: Select from materials like hardcover with printed cover or faux leather.
Binding: Use a spiral binding with a hardcover. Ensure the cover is sturdy and the spiral binding is durable.

5. Finding a Printer
Local vs. Online: Decide between a local print shop and an online printing service.
Quotes: Request quotes from multiple printers to compare costs and services.
Samples: Ask for samples of their work to check quality.

6. Printing and Proofing
Proof Copies: Order a proof copy to check for any design or printing issues.
Adjustments: Make any necessary adjustments based on the proof.

7. Finishing Touches
Endpapers: Consider adding endpapers for added durability and aesthetic appeal.
Features: Add features like ribbon bookmarks, elastic band closures, or pockets for added functionality.

Leave a Message
loading
Technical Support: Magic Lamp
Whatsapp
Send an Email