banner
Home - Products - Journal Notebook - Spiral Notebooks
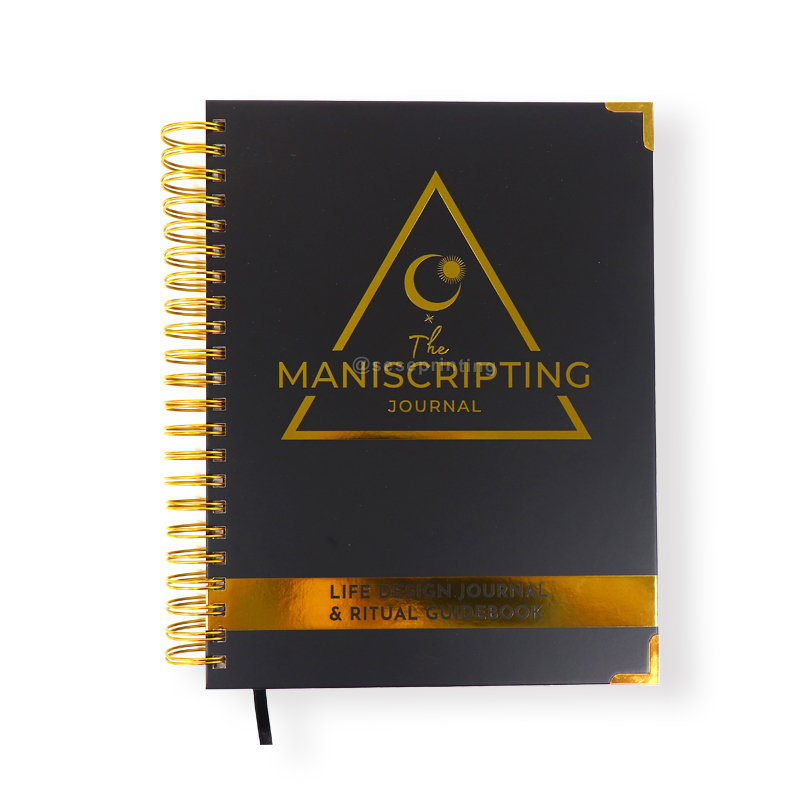
Custom Daily Journal Printing Spiral Weekly Guided Planner Agenda

Custom Daily Journal Printing Spiral Weekly Guided Planner Agenda

Name: Spiral Planner
Material: Coated Paper
Finishing: Gold Foil Stamping
Color: CMYK
Size: A5
MOQ: 500 pcs
OEM service: Yes
Package: Bubble Bag + Strong Carton
Produt Details

Custom Daily Journal Printing Spiral Weekly Guided Planner Agenda

Product details

Product Name  Daily Journal
Material Art Paper, Kraft Paper,Coated Paper, White or Grey Paper, Silver or Gold Card Paper, Special Paper Etc.
Binding Wire-O Binding, Spiral Binding, Hardcover Binding, Perfect Binding, Disc Bound Binding, Binder Binding and Others.
Certification ISO9001, SA8000, FSC
Design From Clients,OEM
Size A4, A5 or Custom
Printing CMYK or Pantone
Artwork Format AI, PDF, ID, PS, CDR
Finishing Gloss or Matt Lamination, Gold Foil Stamping, Emboss, Deboss and More


Here's a step-by-step guide to help you through the process:

Define Your Planner's Purpose:
Determine the primary use of your planner. Is it for daily scheduling, goal tracking, project management, or a combination of these?

Choose a Planner Size and Layout:
Select a planner size that suits your preferences and lifestyle. Common sizes include A5, A4, or letter size. Decide on the layout, such as daily, weekly, or monthly pages.

Design Your Planner Pages:
Use graphic design software like Adobe InDesign, Canva, or even a word processor to create your planner pages. Include sections for dates, tasks, notes, and any other features you desire.
Customize the design with colors, images, and fonts that resonate with your personal style.

Add Special Sections:
Incorporate special sections based on your needs, such as goal-setting pages, habit trackers, meal planners, or any other specific elements that align with your objectives.

Consider Spiral Binding Options:
Decide on the spiral binding type for your planner. You can choose between metal or plastic coils. Spiral binding allows the planner to lay flat when open, making it easy to write on.

Select Quality Paper:
Choose the paper type and weight for your planner. Consider factors like thickness, smoothness, and whether the paper is suitable for your preferred writing tools (pens, pencils, etc.).

Print a Prototype:
Print a prototype or a sample of a few pages to check the layout, colors, and overall design. This step allows you to identify any necessary adjustments before printing the entire planner.

Print the Planner:
Once you're satisfied with the prototype, proceed to print the entire planner. You can either use your own printer or take the files to a professional printing service for higher quality.

Cut and Assemble:
If you printed separate pages, cut them to the desired size. Ensure that each page is aligned correctly.
Assemble the pages in the order you designed. If you're using spiral binding, make sure to punch holes for the coils.

Add Covers and Backing:
Design and print front and back covers for your planner. These can be laminated for durability.
Attach the covers to the planner, and if necessary, add a sturdy backing to provide support.

Consider Protective Elements:
If your planner will be frequently used and carried around, consider adding protective elements such as clear plastic covers or a zippered pouch for storage.

Leave a Message
loading
Technical Support: Magic Lamp
Whatsapp
Send an Email