banner
Home - Products - Book Printing - Sprayed Edges Book
Special Editions Hardcover Book Printing Sprayed Edges

Special Editions Hardcover Book Printing Sprayed Edges

Book Name: Hardcover Novel
Finishing: Foiled Cover
Color: CMYK or PANTONE
Printing: Offset printing
Binding: Hardcover Binding
Size: Customized
OEM/ODM: Accept
Produt Details

Special Editions Hardcover Book Printing Sprayed Edges

Product details

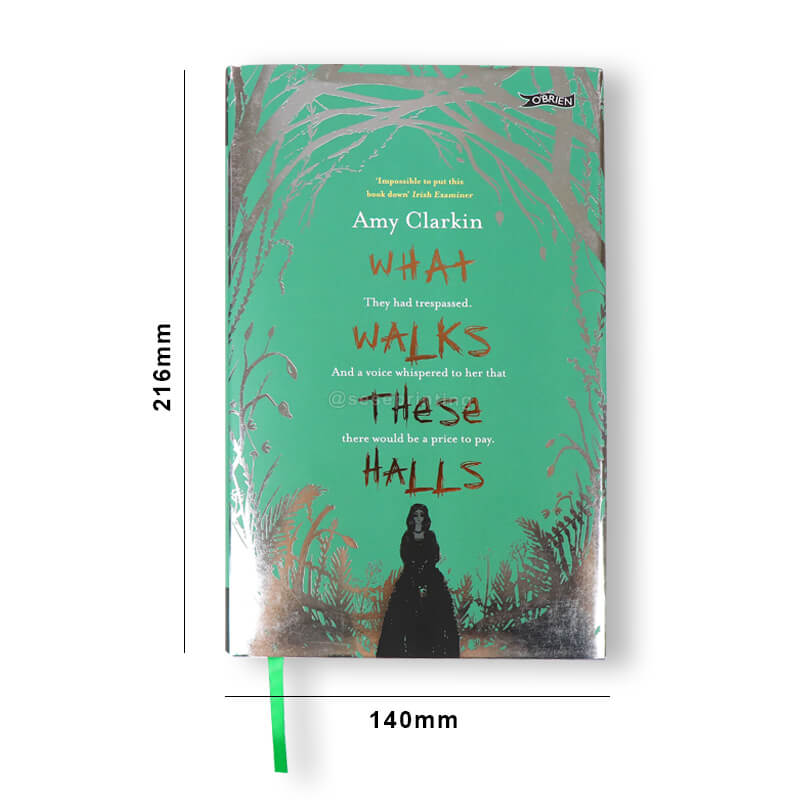
Book Size

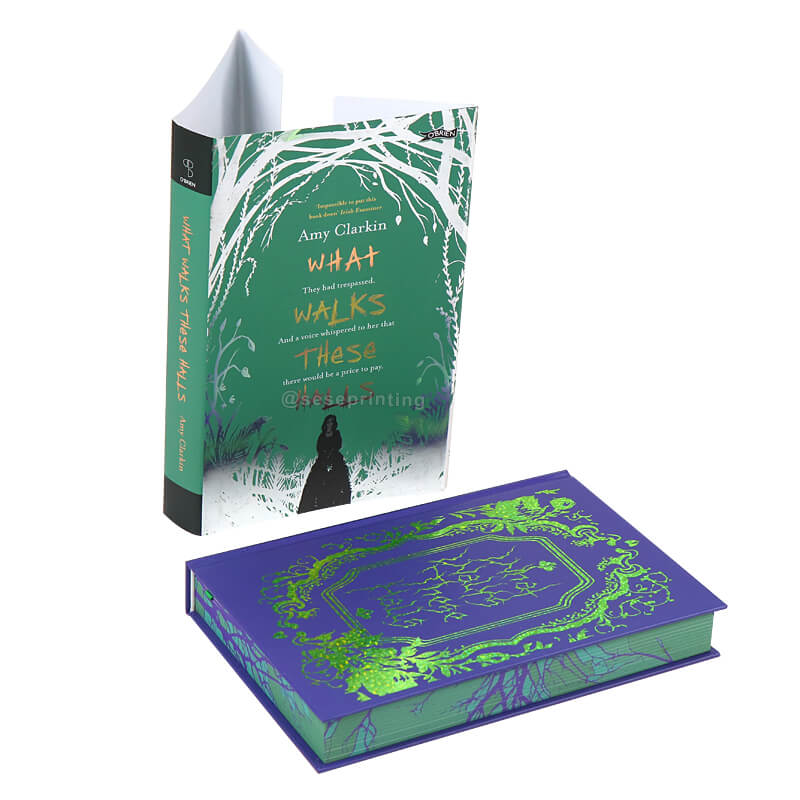
Single Side Printing Dust Jacket

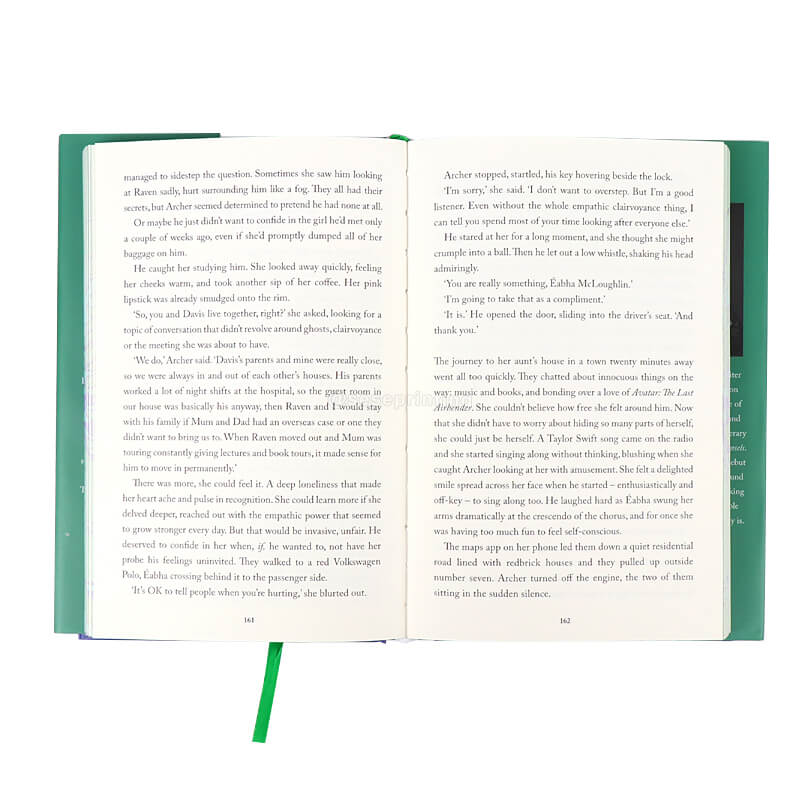
Black and White Printing

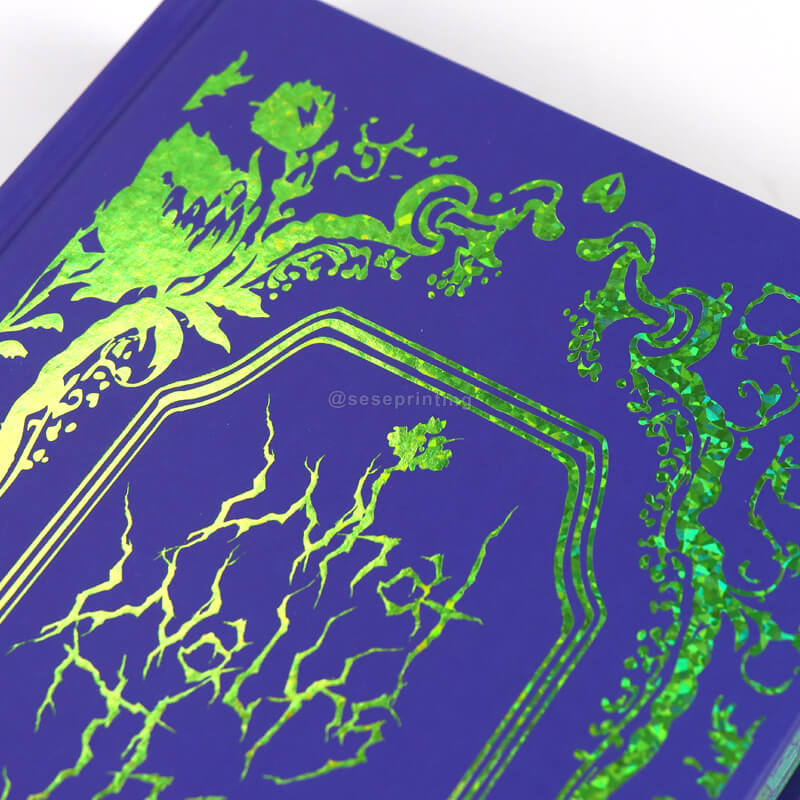
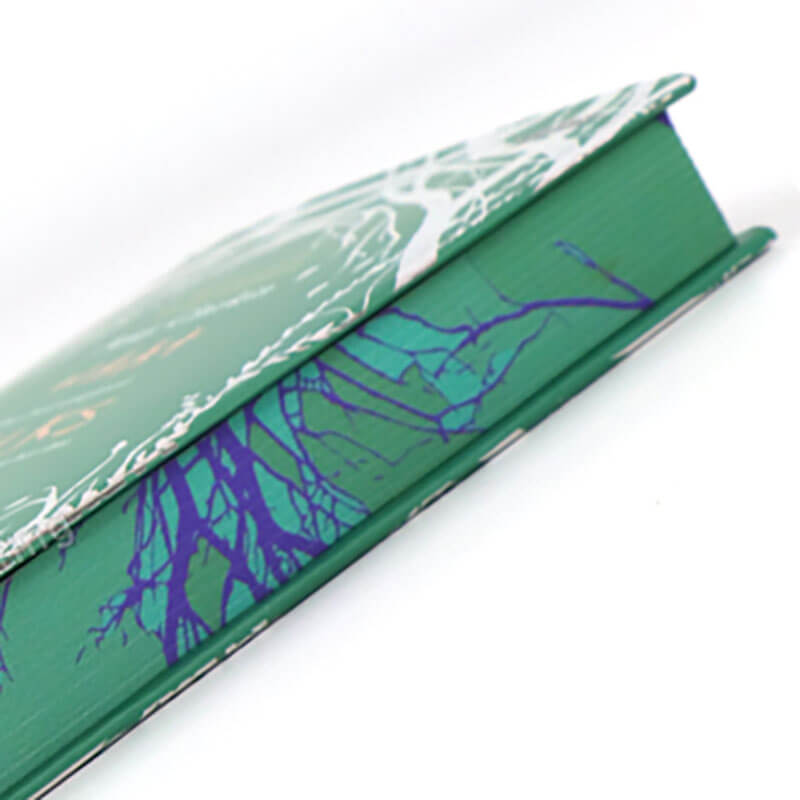
Green Foiled on Cover

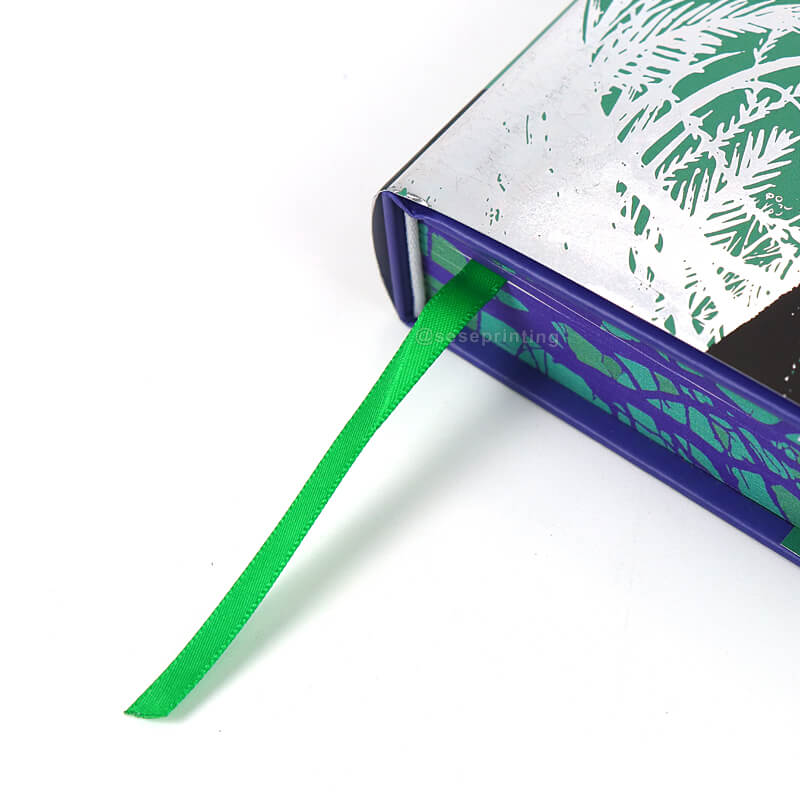
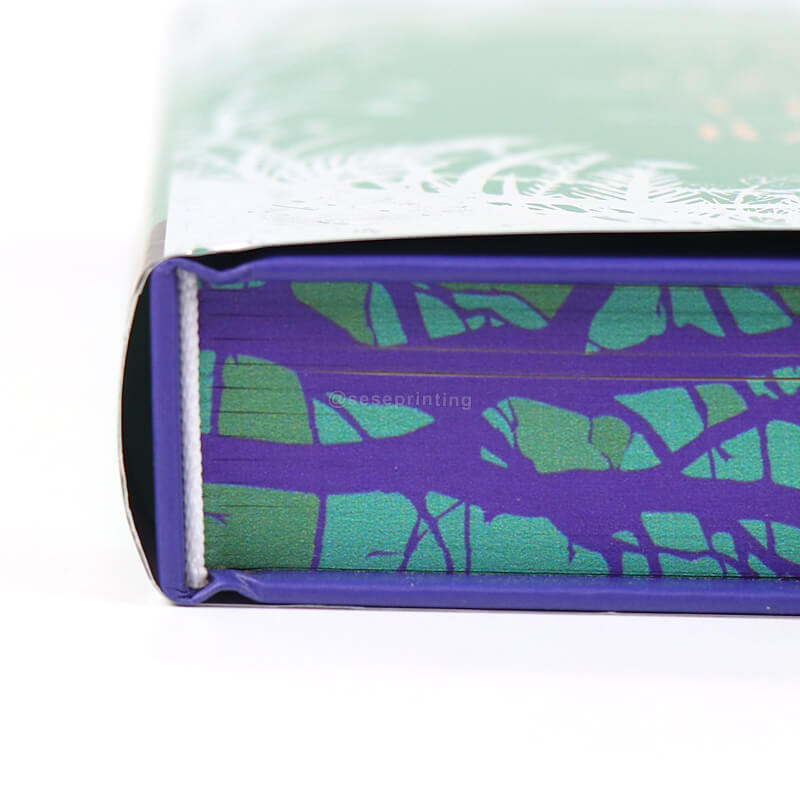
Sprayed Edges

Ribbon Mark

Case Bound


Product Name  Special Edition Book
Material Glossy/Matt Art Paper, Offset Paper, Woodfree Paper, Writing Paper, Light Coated Paper, Special Type Paper, Grey Board, Kraft Paper, Coated Paper, And so On.
Binding Thread Sewing Binding, Saddle-Stitching Binding, Wire-O Binding, Spiral Binding, Perfect Binding, Case Bound, Etc.
Certification ISO9001, SA8000, FSC
Design From Clients,OEM
Size Decided by Client
Printing CMYK or Pantone
Artwork Format AI, PDF, ID, PS, CDR
Finishing Gloss or Matt Lamination, Spot UV, Emboss, Deboss and Sprayed Edges

Printing a special edition hardcover book involves several meticulous steps to ensure the final product is of high quality and unique. Here is a comprehensive guide to help you through the process:

1. Planning and Design
a. Cover Design:
Choose the material for the cover (e.g., cloth, leather, faux leather).
Decide on the cover design elements, including:
Title and author name
Artwork or illustrations
Embossing, debossing, or foil stamping
Dust jacket (optional)

b. Interior Layout:
Design the layout of the pages, including:
Font style and size
Margin size and spacing
Chapter headings and subheadings
Placement of illustrations, photographs, or graphics

c. Additional Elements:
Consider adding special features such as:
Ribbon bookmarks
Gilded or colored page edges
Custom endpapers
Slipcases or boxes

2. Choosing Materials
a. Paper Quality:
Select high-quality, acid-free paper for durability and a premium feel.
Choose the paper thickness (e.g., 80gsm, 100gsm, 120gsm) based on the desired opacity and feel.

b. Cover Material:
Select the cover material (e.g., cloth, leather, faux leather) based on your design and budget.
Decide on the finish (e.g., matte, gloss).

4. Printing Process
a. Prepress:
Send your final design files to the printer.
Review and approve digital or physical proofs to ensure color accuracy and layout.

b. Printing:
Use offset printing for high-quality and cost-effective production, especially for larger quantities.
Ensure the printer uses high-quality inks and printing techniques to match your design specifications.

5. Binding and Assembly
a. Binding Method:
Choose a durable binding method such as Smyth sewing (section-sewn binding) for longevity.
Ensure the binding process is compatible with your chosen cover material.

b. Attaching the Cover:
The cover material is glued and wrapped around the endpapers.
Additional stitching can be added for extra durability and aesthetic appeal.

6. Finishing Touches
a. Edges:
Consider gilding the page edges (gold, silver, or colored) for an elegant touch.
Round the corners if desired.

b. Endpapers:
Choose decorative or custom endpapers that complement the overall design.

c. Packaging:
Consider adding a custom slipcase or box for added protection and a luxurious presentation.

Leave a Message
loading
Technical Support: Magic Lamp
Whatsapp
Send an Email