banner
Home - Products - Book Printing - Sprayed Edges Book
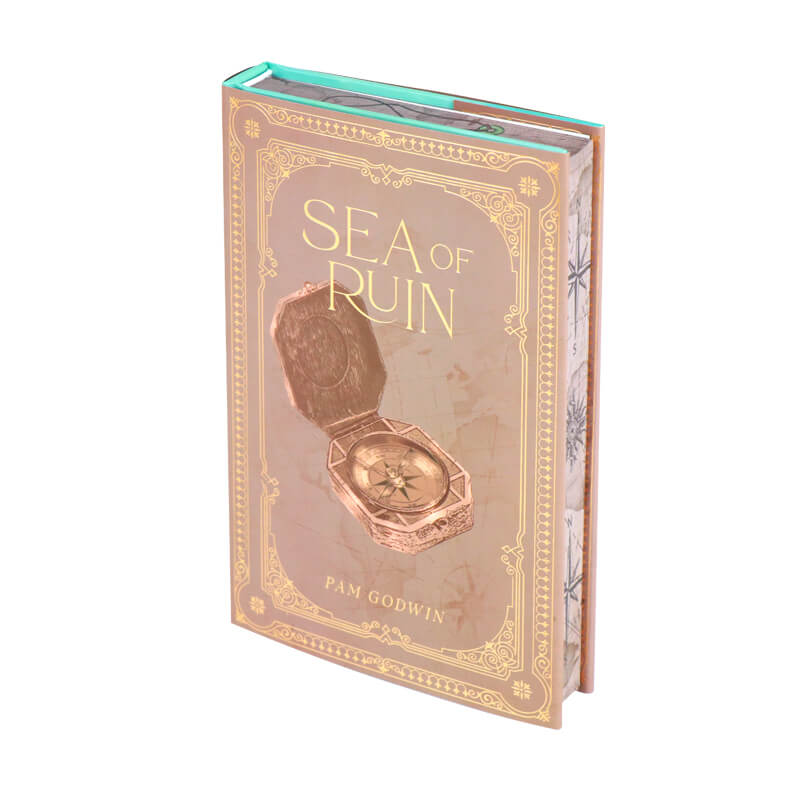
Colored Pages Hardback Romance Novel Printing Sprayed Edges/Endpaper

Colored Pages Hardback Romance Novel Printing Sprayed Edges/Endpaper

Book Name: Romance Novel
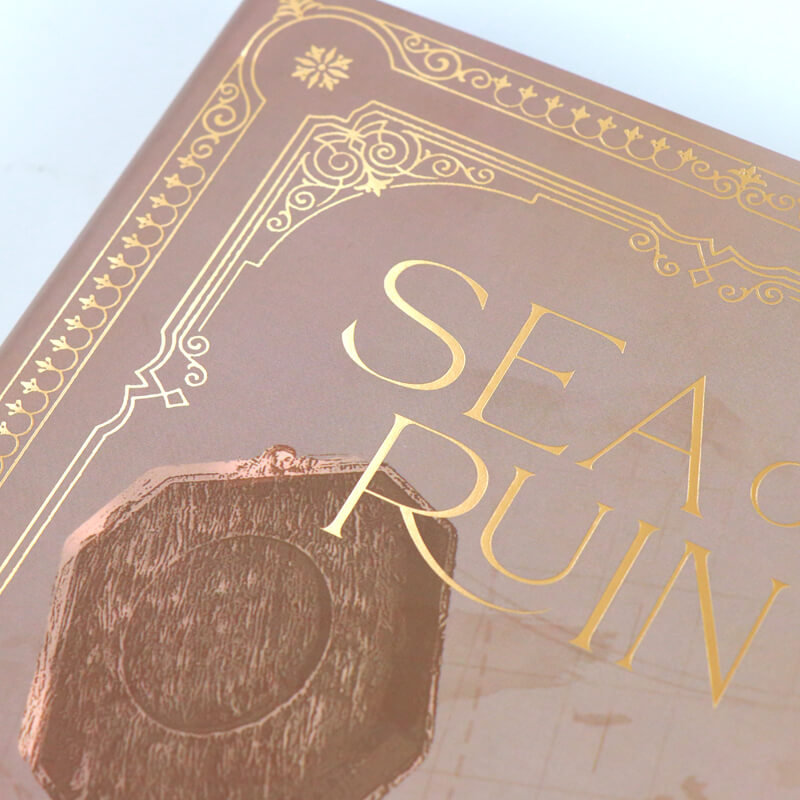
Finishing: Foil Cover
Color: CMYK or PANTONE
Printing: Offset printing
Binding: Hardcover Binding
Size: Customized
OEM/ODM: Accept
Produt Details

Colored Pages Hardback Romance Novel Printing Sprayed Edges/Endpaper

Product details

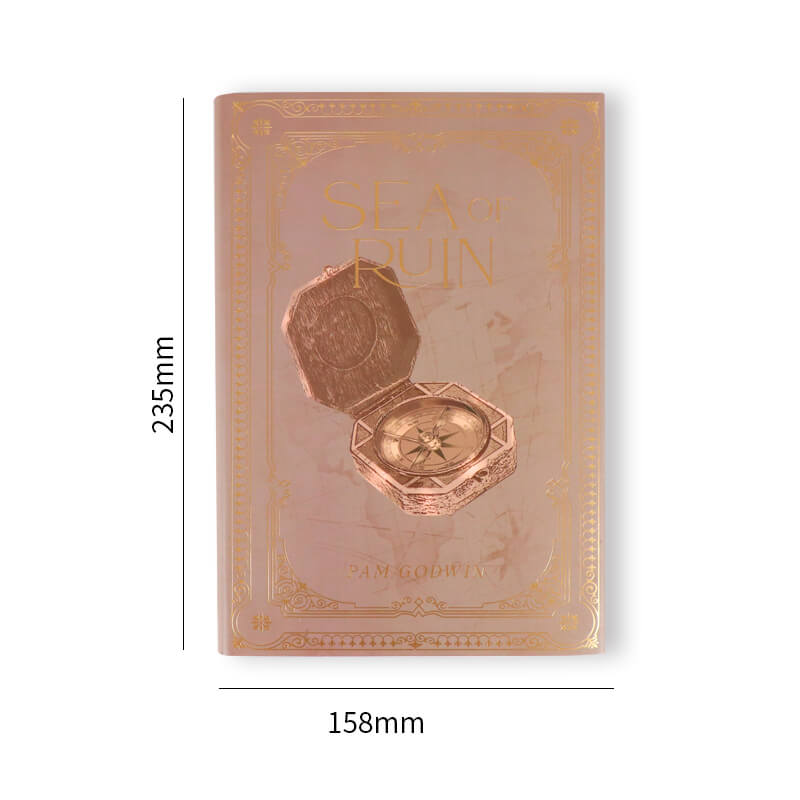
Book Size

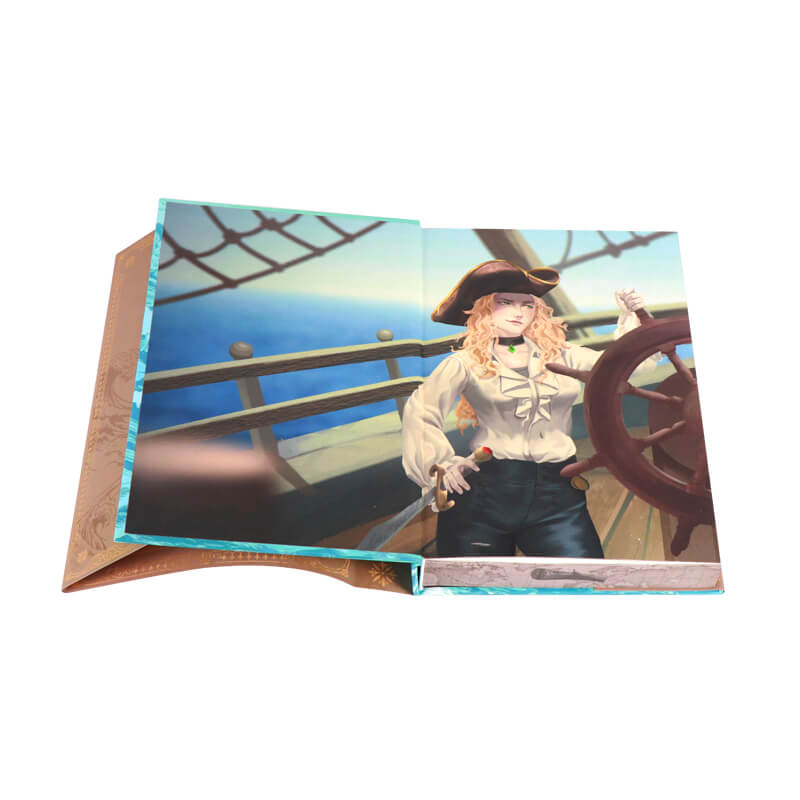
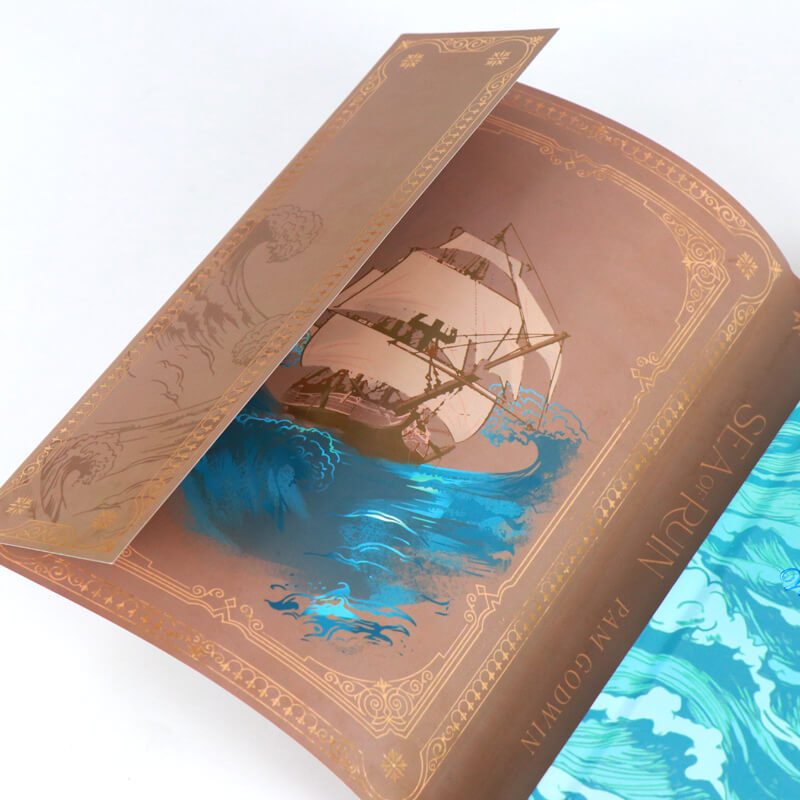
Full Color Printing Endpaper

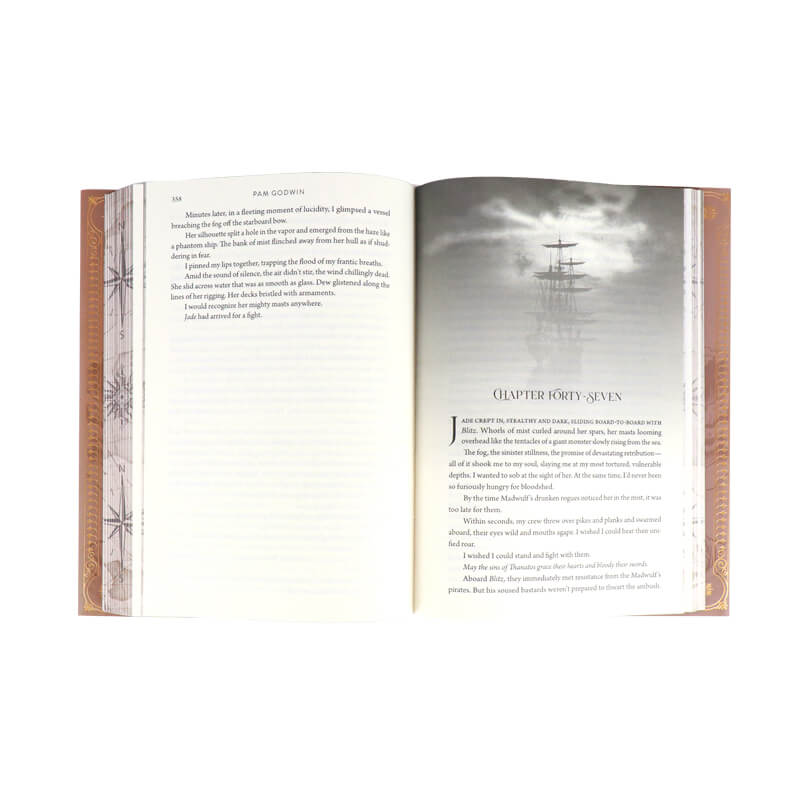
Black and White Printing

Dust Jacket Printing

Foiled on Cover

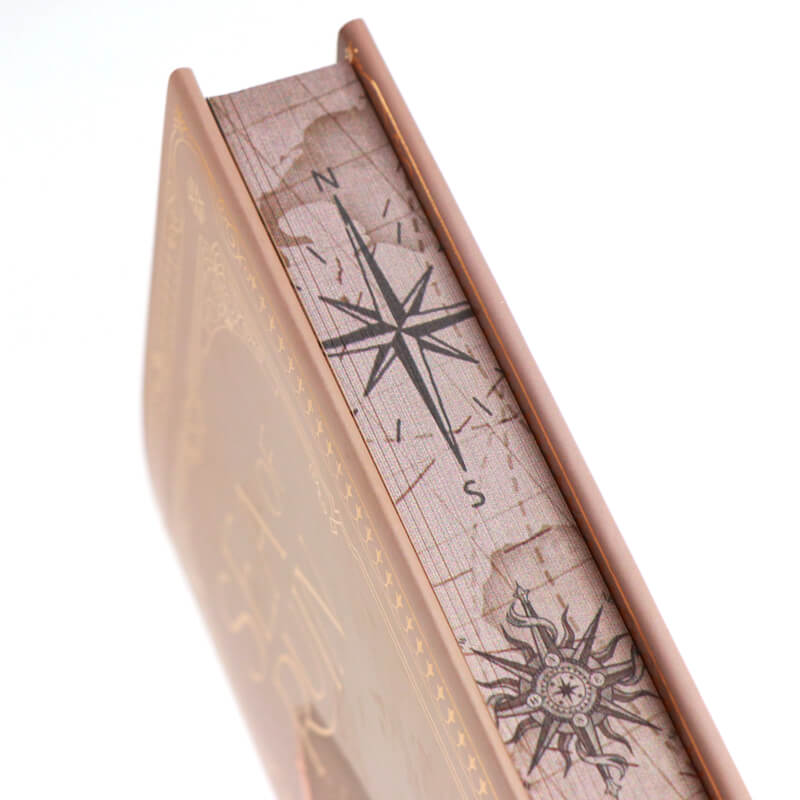
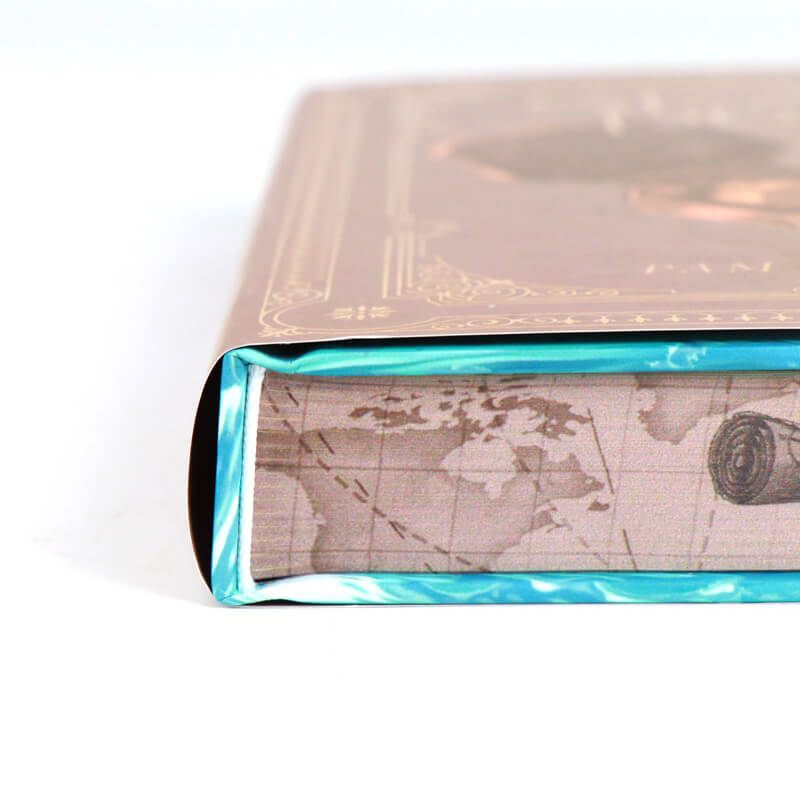
Sprayed Edges

Case Bound


Product Name  Romance Book
Material Glossy/Matt Art Paper, Offset Paper, Woodfree Paper, Writing Paper, Light Coated Paper, Special Type Paper, Grey Board, Kraft Paper, Coated Paper, And so On.
Binding Thread Sewing Binding, Saddle-Stitching Binding, Wire-O Binding, Spiral Binding, Perfect Binding, Case Bound, Etc.
Certification ISO9001, SA8000, FSC
Design From Clients,OEM
Size Decided by Client
Printing CMYK or Pantone
Artwork Format AI, PDF, ID, PS, CDR
Finishing Gloss or Matt Lamination, Spot UV, Emboss, Deboss and Sprayed Edges

Printing a hardback romance novel with sprayed edges and custom endpapers can give it a luxurious and personalized touch. Here's a step-by-step guide on how you might go about it:

Step 1: Designing the Book
Book Design: Design the interior layout of the book, including font styles, chapter headings, and any special formatting.

Cover Design: Design the cover of the book. This should include the front cover, spine, and back cover. Ensure that the design is eye-catching and reflects the theme of the novel.

Endpapers Design: Design custom endpapers that complement the overall design of the book. These can include patterns, illustrations, or other elements related to the story.

Step 2: Choosing Materials
Paper: Select high-quality paper for both the interior pages and the endpapers. For the interior pages, choose a paper weight and texture that is suitable for reading. For the endpapers, choose a thicker paper that can withstand the printing process.

Cover Material: Choose a durable cover material such as cloth or leather for the hardcover. Ensure that it complements the design of the book.

Step 3: Printing
Interior Pages: Print the interior pages of the book using the chosen paper and layout. This can be done using digital printing or offset printing, depending on the quantity and budget.

Sprayed Edges: Once the pages are printed and bound, the edges of the book can be sprayed with a colored pigment to give it a unique look. You can choose a color that complements the design of the cover or the theme of the book.

Endpapers: Print the custom-designed endpapers. This can be done using a similar printing process as the interior pages. Ensure that the endpapers are printed on both sides if you want the design to be visible on the inside covers of the book.

Step 4: Binding
Book Block: Collate the printed pages to form the book block. This can be done by sewing or gluing the pages together.

Attaching Endpapers: Attach the printed endpapers to the inside covers of the book block. This is usually done using glue.

Cover Attachment: Attach the cover to the book block. This can be done using adhesive or by sewing the cover to the book block.

Step 5: Finishing
Trimming: Trim the edges of the book to ensure that they are even and neat.

Quality Check: Perform a quality check to ensure that the book is free from any defects or errors.

Packaging: Package the finished books for distribution or sale.

Leave a Message
loading
Technical Support: Magic Lamp
Whatsapp
Send an Email