A Step-By-Step Guide to Printing Your Own Coloring Book
 Oct 25,2024

 SESE
SESE
A Step-By-Step Guide to Printing Your Own Coloring Book
A coloring book is more than just a collection of images—it's a gateway to creativity and tranquility. The printing process of a coloring book is just as much an art form as the illustrations it contains. Every choice, from the type of paper to the binding method, influences the overall quality and experience of the book. This guide will walk you through each step, ensuring that your custom coloring book captivates readers with its exceptional quality and charm.
1. Select a Trim Size Before Printing a Coloring Book
Purpose and Audience: Determine the target audience for your coloring book. Is it for children, adults, or a specific age group? The trim size may vary based on the intended users and their preferences.
Content and Illustrations: Consider the complexity and size of the illustrations in your coloring book. If the designs are intricate or detailed, you may want to choose a larger trim size to allow for better coloring experience and ease of use. Conversely, if the designs are simple or intended for younger children, a smaller trim size may be more suitable.
Portability: Think about the practicality and portability of your coloring book. Smaller trim sizes are generally more portable and convenient to carry around, while larger trim sizes offer a bigger canvas for coloring and may be more visually appealing.
Cost and Market Standards: Printing costs can vary depending on the trim size and the printing service you choose. Research the pricing structures of different printers and compare the costs associated with various trim sizes to find the most suitable option for your budget. Additionally, consider the market standards for coloring books in terms of trim sizes, as conforming to these standards may make it easier to distribute and sell your book.
Common trim sizes for coloring books include 8.5 x 11 inches (21.6 x 27.9 cm), 8 x 10 inches (20.3 x 25.4 cm), or 6 x 6 inches (15.2 x 15.2 cm). However, these are just examples, and you can choose a custom your own coloring book size.
2. Design the Coloring Book Cover
The cover of your coloring book is the first impression for potential customers, making it essential that it is visually appealing and representative of the content within.
To create an outstanding cover, focus on both the design elements and the materials you choose. Your design should reflect the theme of your book, whether it features serene nature scenes, intricate abstract patterns, or something else entirely. Ensure the title stands out and is easy to read, and consider including a colored sample to inspire and attract buyers.
Regarding materials, you’ll need to choose between a glossy and a matte finish. Glossy covers are bright and vibrant, enhancing colors and drawing attention on bookstore shelves. In contrast, matte covers provide a more understated and elegant appearance, which is often favored by adult audiences.
3. Typesetting the Interior Pages
Once you have finalized the cover design, it's essential to shift your focus to the interior pages of your coloring book. The layout and typesetting of these pages are crucial for ensuring a positive user experience.
Effective typesetting plays a key role in making your coloring book user-friendly. It's important to have wide margins that allow for easy coloring near the spine. Thoughtful positioning of the images will help maximize space and enhance the overall aesthetic appeal of the book.
Ensure there is enough blank space around each drawing to prevent any bleed-through and to allow for easy removal or framing of individual pages, if desired. Additionally, select a legible font for any text included in the book, ensuring it complements the overall design.
Remember, the interior pages should provide a seamless and enjoyable coloring experience, so careful attention to layout and typesetting is crucial.
4. Consider the Paper Type for Printing Your Coloring Book
Paper Weight
90-120 GSM: Good for standard coloring books; light enough to flip pages easily but sturdy enough to handle colored pencils.
120-200 GSM: Thicker paper, suitable for watercolor or marker use, as it reduces bleed-through.
Texture
Smooth Finish: Ideal for markers and gel pens; allows for easy coloring.
Tooth Texture: Better for colored pencils, as it helps grip the color better.
Brightness
Choose a brighter white paper for vibrant colors, or opt for off-white or cream for a softer look.
Acid-Free
Ensure the paper is acid-free to prevent yellowing and degradation over time, preserving the artwork.
Sustainability
Look for recycled paper options if you want an eco-friendly choice. Check for certifications like FSC (Forest Stewardship Council).
Bleed-Through Resistance
If using markers, verify that the paper is resistant to bleed-through. A slightly thicker paper will usually perform better in this aspect.
Recommendations:
For colored pencils: 150-200 GSM paper with a slightly textured surface.
For markers or watercolor: 200 GSM or heavier, smooth, and bleed-resistant paper.
5. Choosing the Binding Style
|
|
|
|
|
Saddle Stitching Binding |
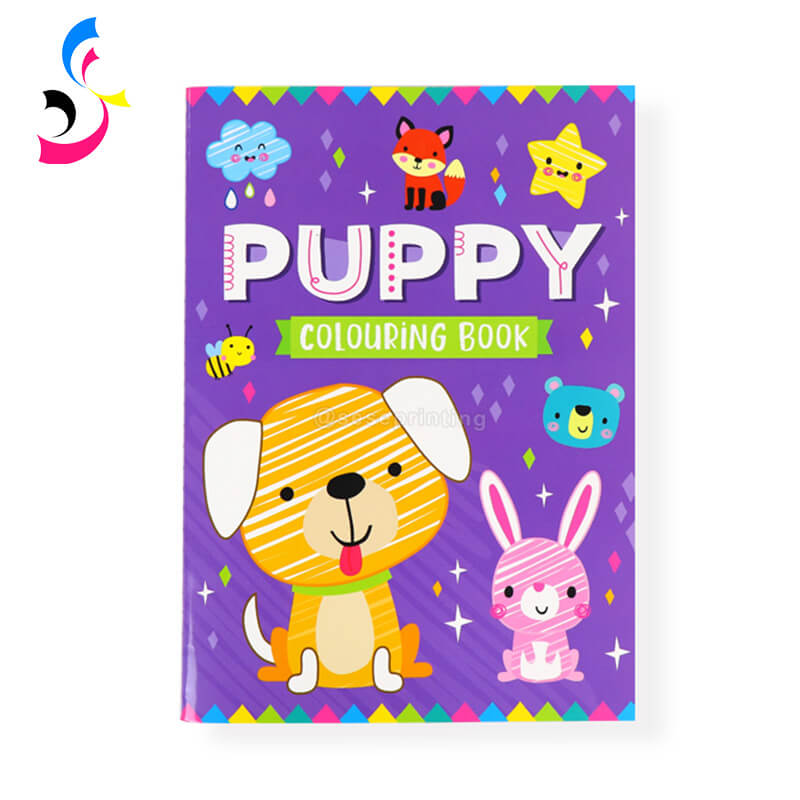
Perfect Binding |
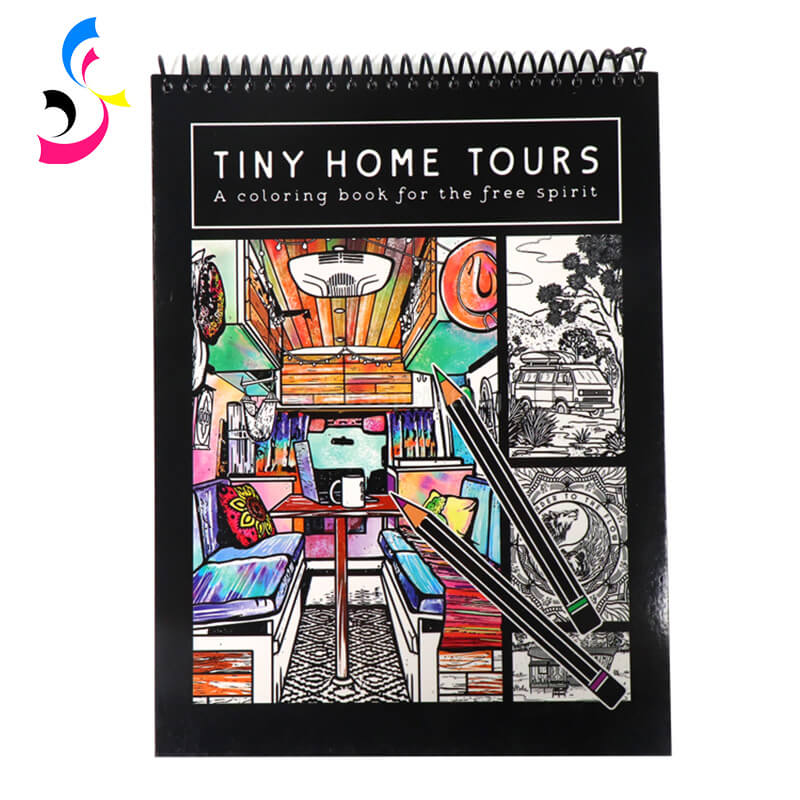
Spiral Binding |
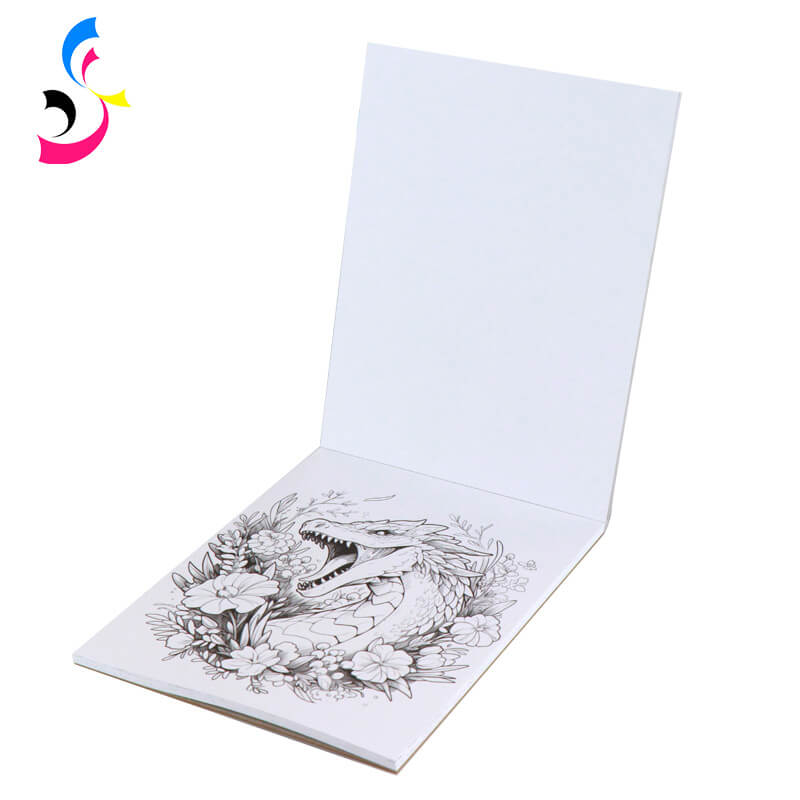
Glued on Top Binding |


 Home
Home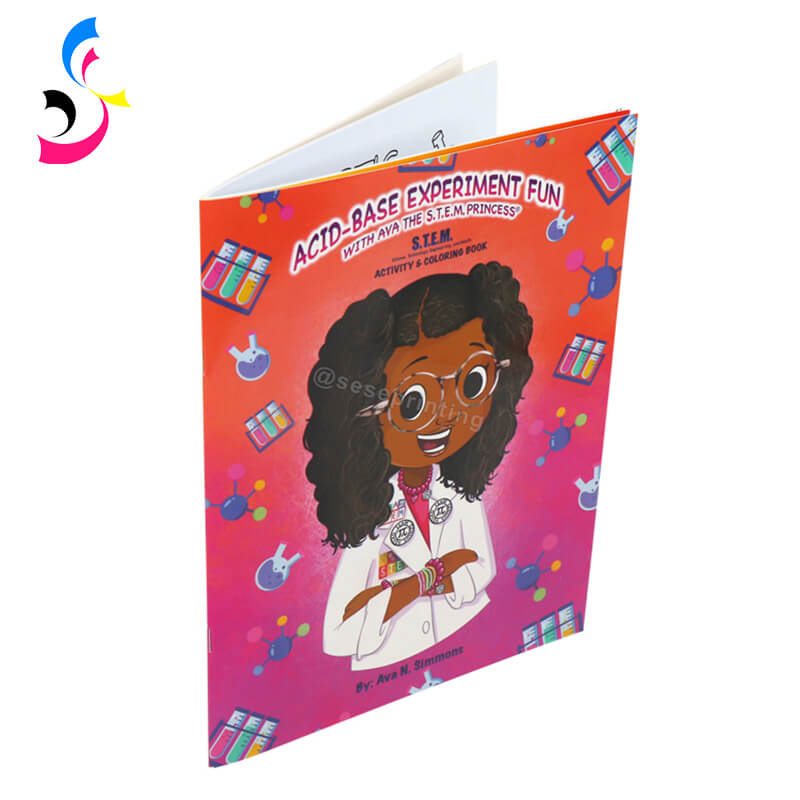
 Guide to Custom Cloth Hardcover Notebooks
  You May Also Like


 Tel
Tel
 Email
Email
 Address


