banner
Home - Products - Journal Notebook - Hardcover Notebooks
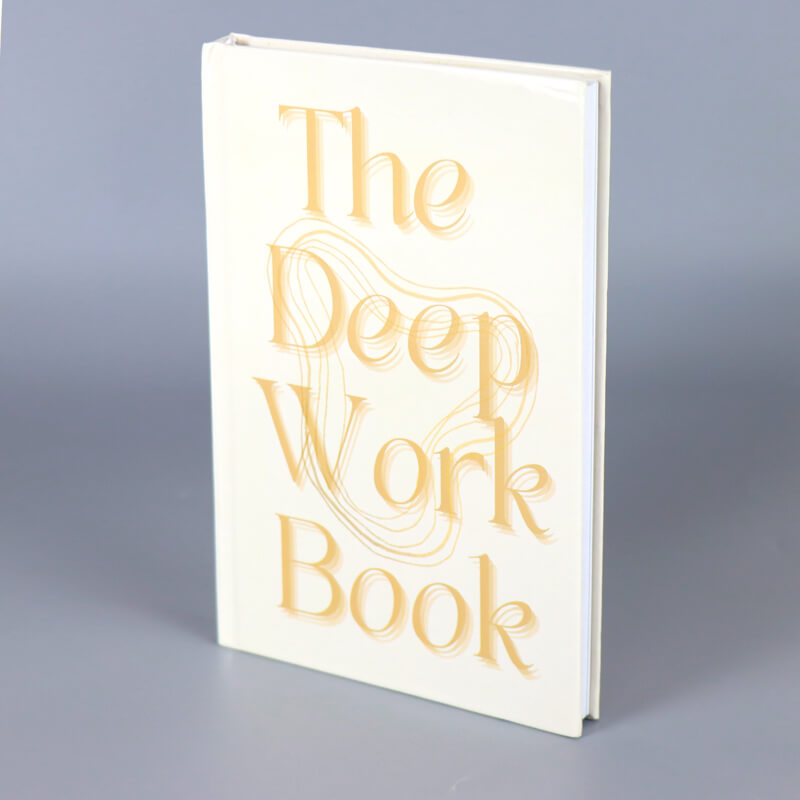
Customized Undated Planner Printing Hardcover Mother Journal Diary

Customized Undated Planner Printing Hardcover Mother Journal Diary

45
Name: Hardcover Planners
Material: Coated Paper
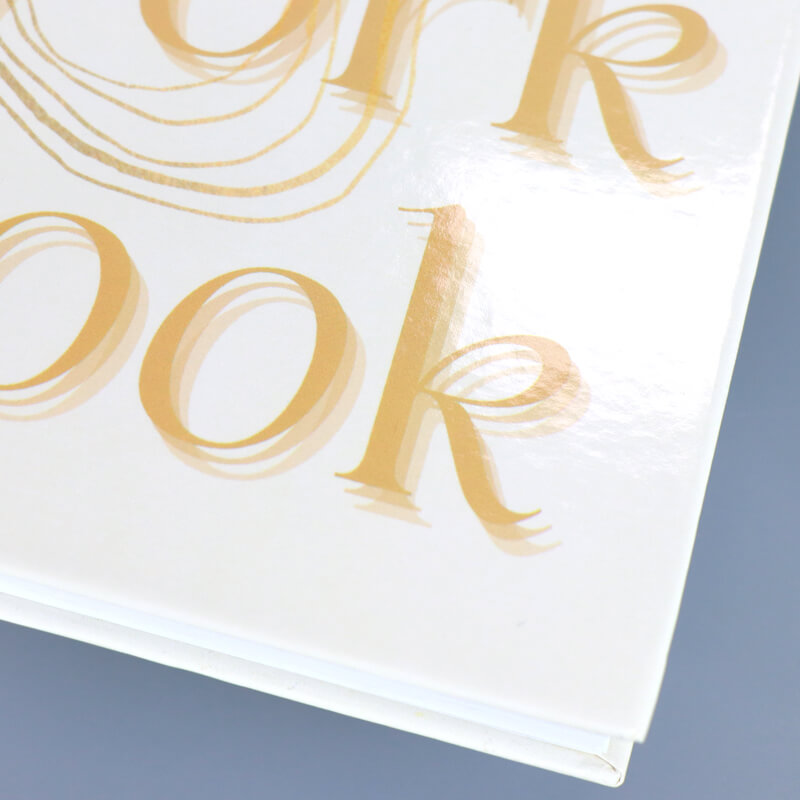
Finishing: Glossy Lamination
Color: CMYK
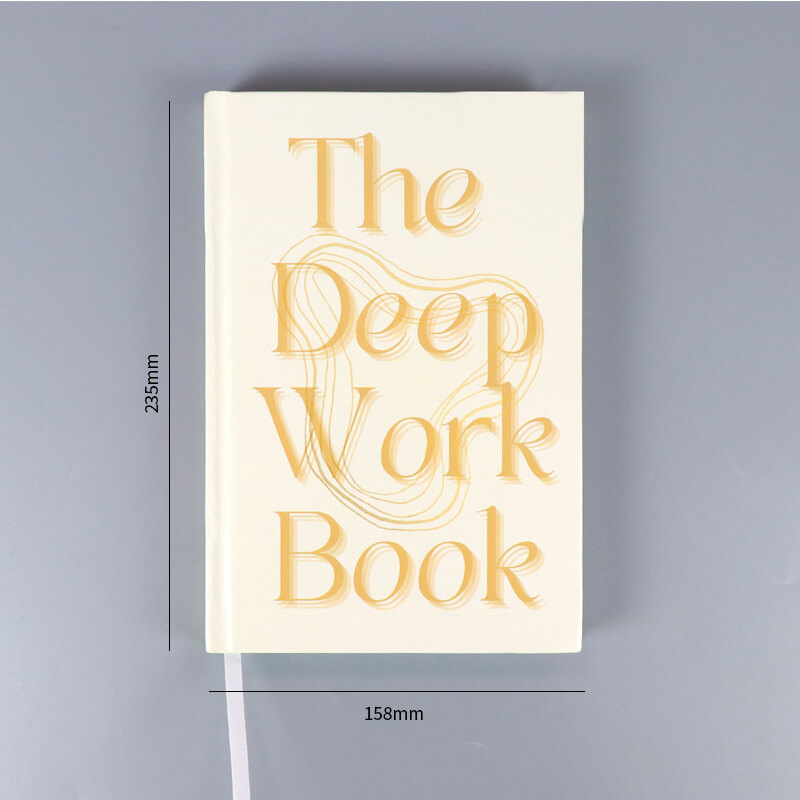
Size: A5
MOQ: 500 pcs
OEM service: Yes
Package: Bubble Bag + Strong Carton
Produt Details

Customized Undated Planner Printing Hardcover Mother Journal Diary

Product details

Journal Size

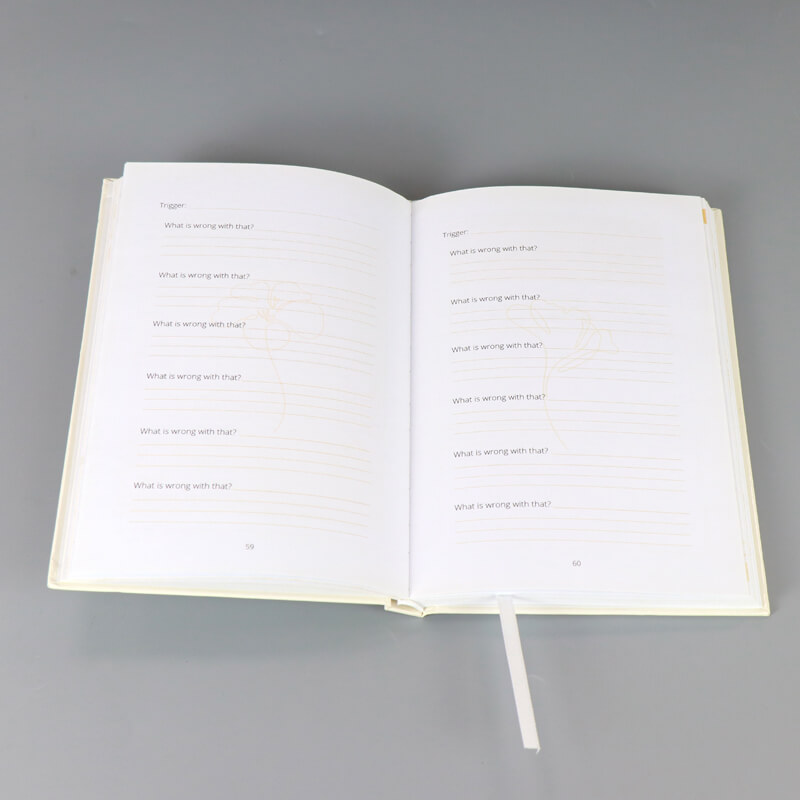
Custom Design Your Own Page

Glossy Lamination Cover

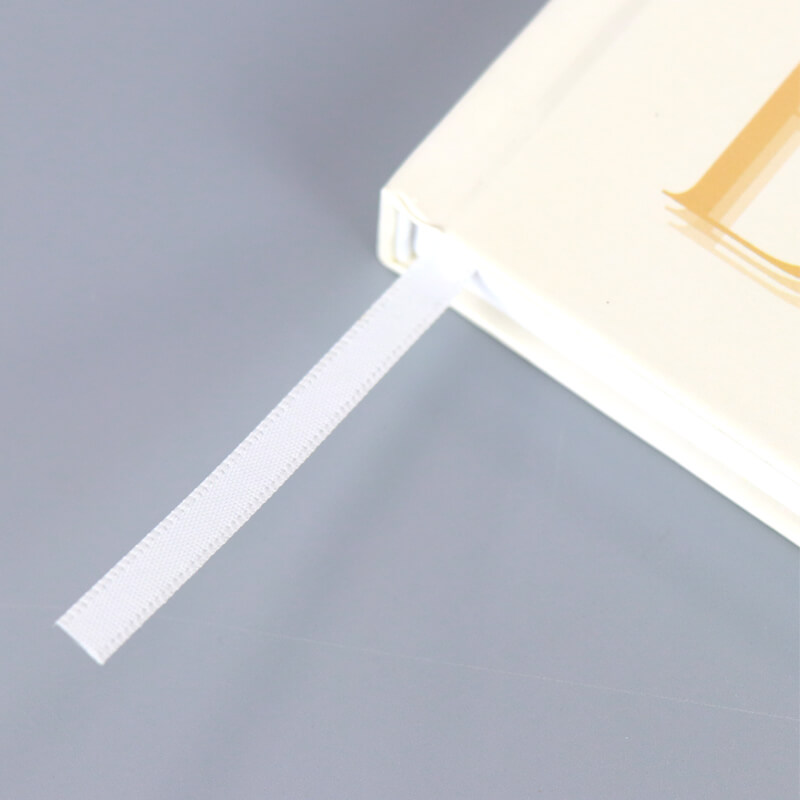
Ribbon Mark

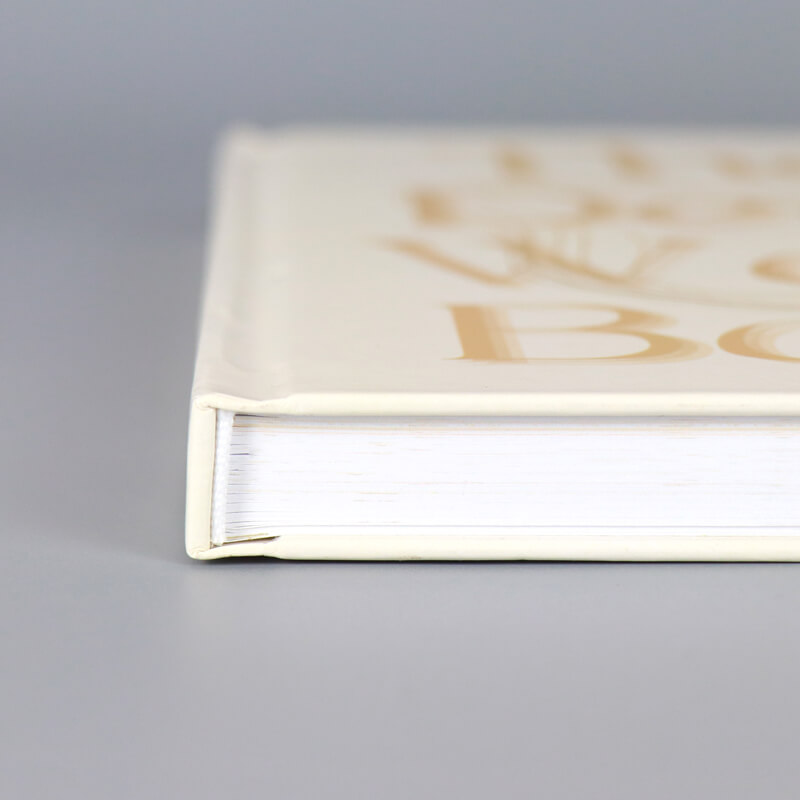
Hardcover Binding


Product Name  Custom Planner
Material Art Paper, Kraft Paper,Coated Paper, White or Grey Paper, Silver or Gold Card Paper, Special Paper Etc.
Binding Wire-O Binding, Spiral Binding, Hardcover Binding, Perfect Binding, Disc Bound Binding, Binder Binding and Others.
Certification ISO9001, SA8000, FSC
Design From Clients,OEM
Size A4, A5 or Custom
Printing CMYK or Pantone
Artwork Format AI, PDF, ID, PS, CDR
Finishing Gloss or Matt Lamination, Gold Foil Stamping, Emboss, Deboss and More

Creating custom hardcover planners involves a detailed process to ensure that the design, durability, and functionality meet your needs. Here's a comprehensive guide to help you through the process:

Step 1: Planning and Design
Purpose and Layout: Determine the planner's intended use, layout, and sections (e.g., daily, weekly, monthly views, goal setting, notes).
Cover Design: Create a visually appealing cover design that reflects your brand or personal style.
Page Design: Design the inner pages with a clear and functional layout, incorporating any custom elements or branding.

Step 2: Customization Options
Material Selection: Choose a durable cover material (e.g., linen, leather, faux leather) that aligns with the planner's intended use.
Cover Finish: Decide on a finish for the cover (e.g., matte, gloss, embossed) to enhance the overall look and feel.
Page Features: Consider adding features like ribbon bookmarks, elastic closures, or pen loops for added functionality.

Step 3: Printing Specifications
Printing Method: Select a printing method (digital or offset) based on your budget and desired print quality.
Color Scheme: Ensure the colors are accurately represented by using a color profile and requesting a proof for color accuracy.
Page Layout: Pay attention to margins, bleed, and overall page design to ensure the final planner looks polished and professional.

Step 4: Production and Quality Control
Sample Production: Request a sample planner to evaluate the print quality, material, and overall presentation.
Quality Assurance: Check for any printing errors, misalignments, or defects before proceeding with the full print run.
Binding: Choose a durable binding method (e.g., case binding, smyth-sewn binding) that ensures the planner withstands daily use.

Step 5: Distribution and Packaging
Packaging: Decide on how the planners will be packaged for shipping or retail display.
Shipping: Plan for the shipping of the finished products and consider any protective packaging or materials needed.

Leave a Message
loading
Technical Support: Magic Lamp
Whatsapp
Send an Email