banner
Home - Products - Journal Notebook - Leather Journals
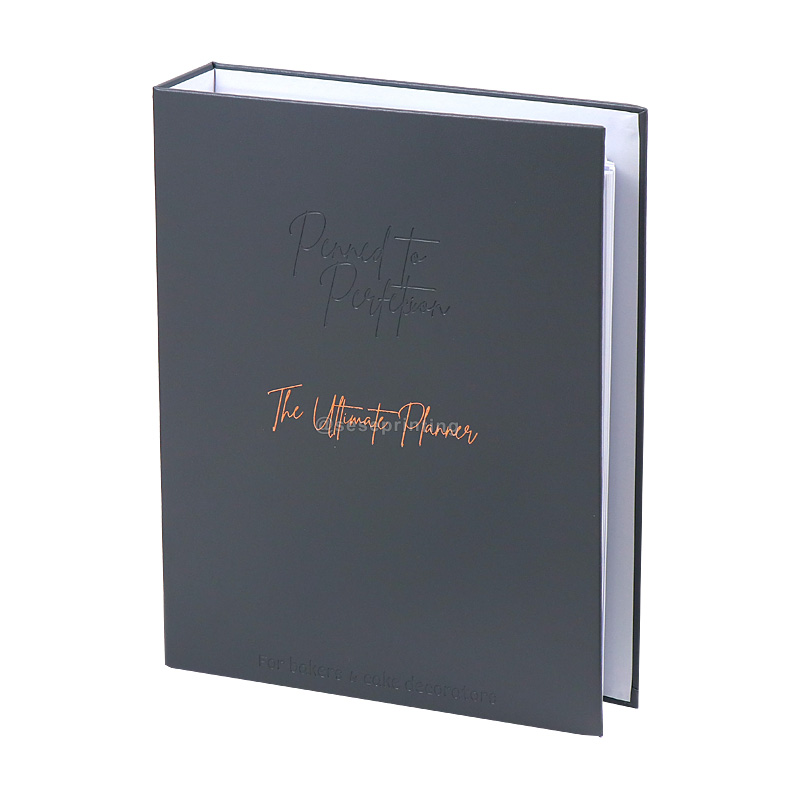
Personalized PU Leather 6 Ring Binder Budget Planner Set Printing

Personalized PU Leather 6 Ring Binder Budget Planner Set Printing

Name: Budget Planner
Material: PU Leather
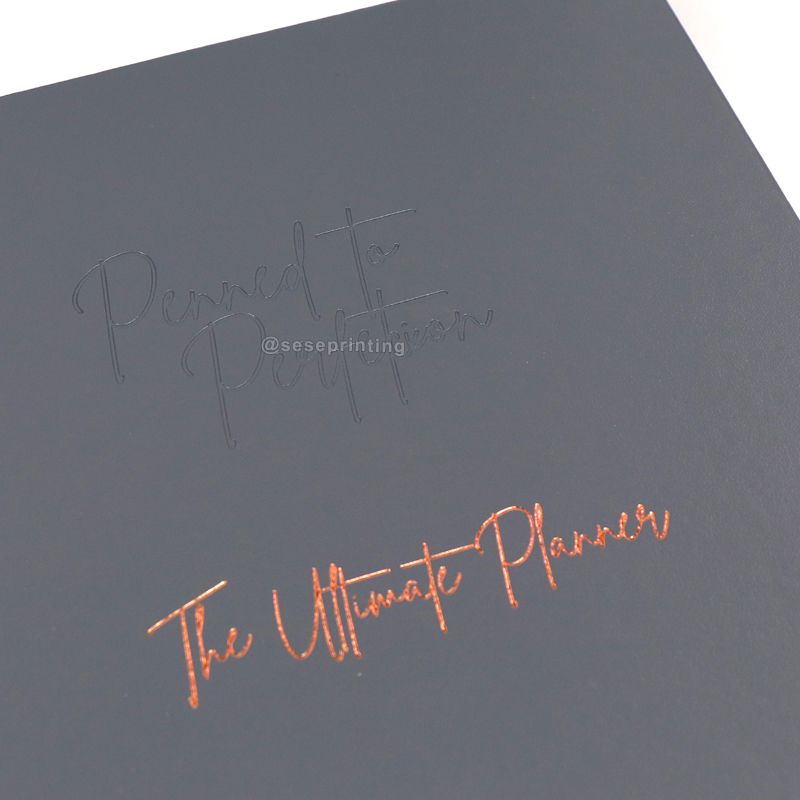
Finishing: Gold Foil Stamping Logo
Color: CMYK
Size: A5
MOQ: 500 pcs
OEM service: Yes
Package: Bubble Bag + Strong Carton
Produt Details

Personalized PU Leather 6 Ring Binder Budget Planner Set Printing

Product details

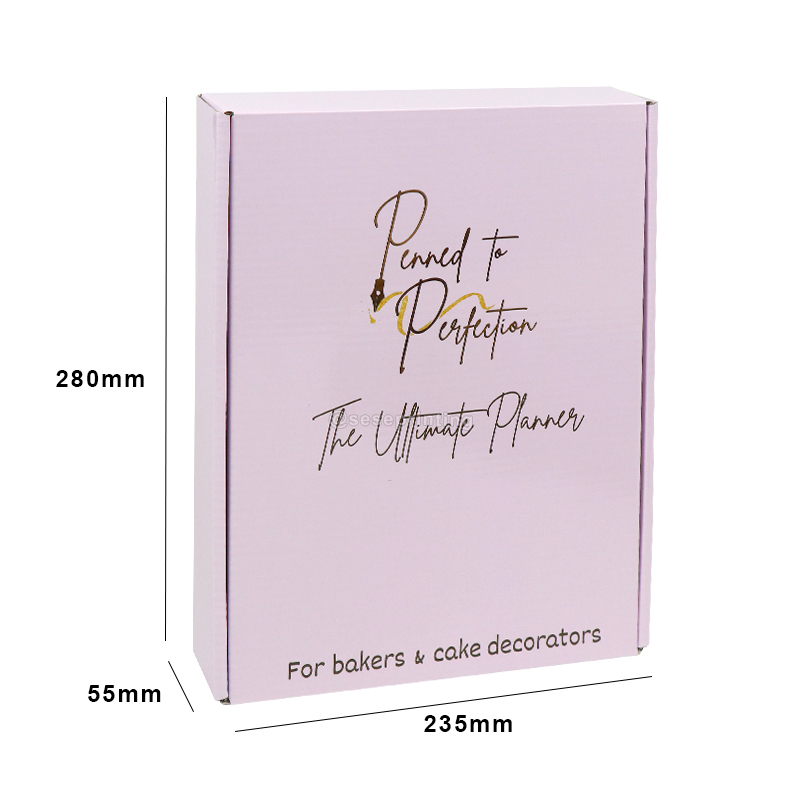
Mailer Box Size

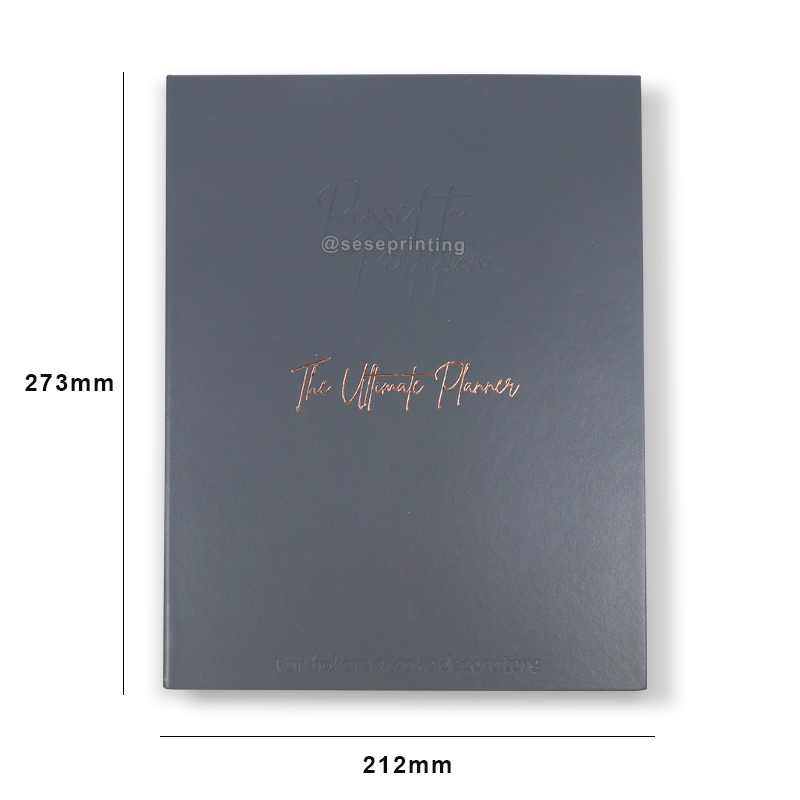
Planner Size

Custom Design Your Own Pages

Gold Foil Stamping Logo

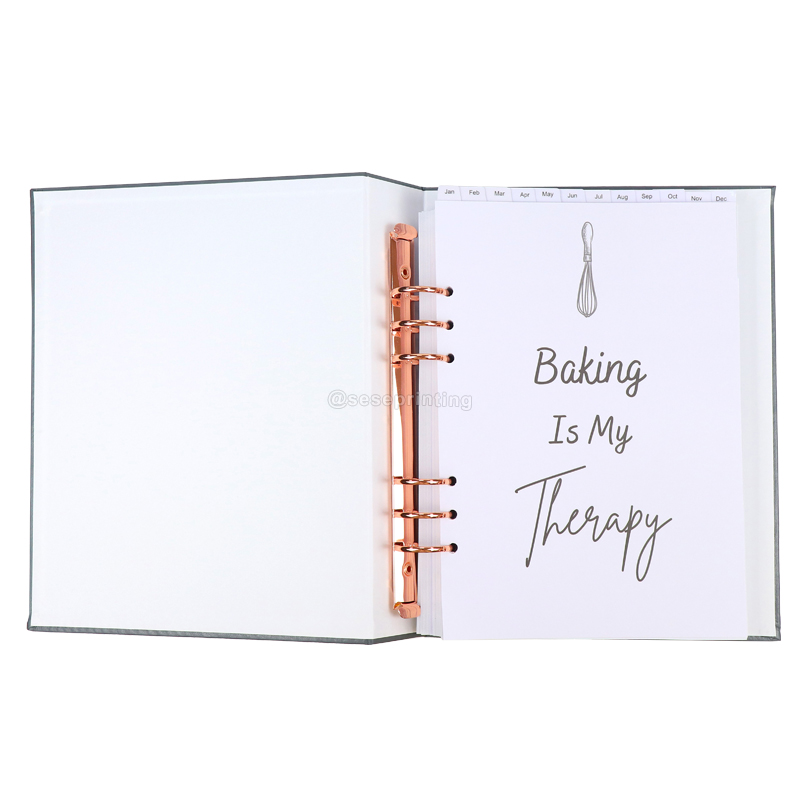
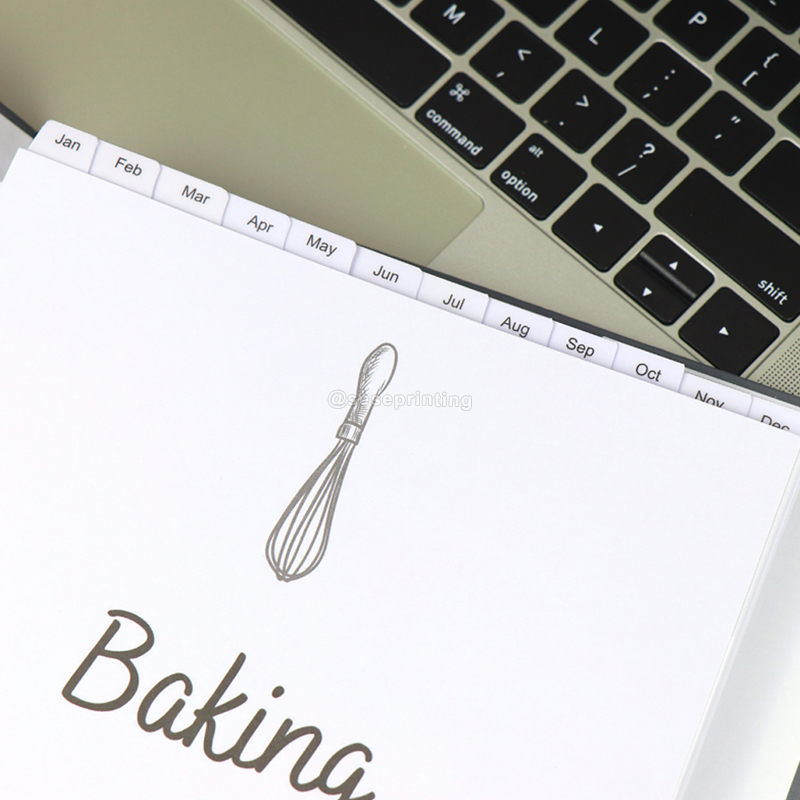
Tabs

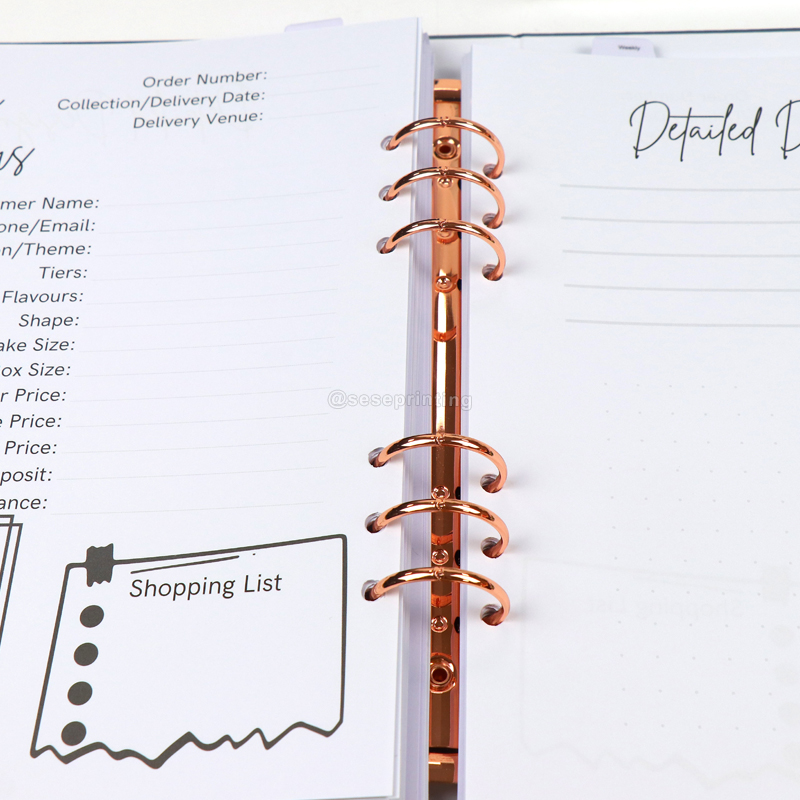
Binder


Product Name  Budget Planner
Material Art Paper, Kraft Paper,Coated Paper, White or Grey Paper, Silver or Gold Card Paper, Special Paper Etc.
Binding Wire-O Binding, Spiral Binding, Hardcover Binding, Perfect Binding, Disc Bound Binding, Binder Binding and Others.
Certification ISO9001, SA8000, FSC
Design From Clients,OEM
Size A4, A5 or Custom
Printing CMYK or Pantone
Artwork Format AI, PDF, ID, PS, CDR
Finishing Gloss or Matt Lamination, Gold Foil Stamping, Emboss, Deboss and More

Creating a personalized leather binder budget planner involves several steps, from choosing the right leather binder to designing the inserts and printing them. Here’s a detailed guide to help you through the process:

Step 1: Choose a Leather Binder
Size: Decide on the size of the binder (A5, A4, Letter, etc.).
Material: Choose the type of leather (genuine, faux, vegan leather).
Color and Design: Select a color and any design elements or embossing options you prefer.
Ring Mechanism: Consider the ring mechanism (3-ring, 6-ring, etc.).

Step 2: Design the Inserts
Budget Sections: Define the sections you need (e.g., monthly budget, expense tracker, savings goals, debt repayment, etc.).
Templates: Create or find templates for each section.
Customization: Personalize the templates with your name, specific categories, and any motivational quotes or images.

Step 3: Print the Inserts
Paper Quality: Choose a high-quality paper for durability (80-100 gsm is a good range).
Printing Method: Decide if you will print at home or use a professional printing service.
Color vs. Black and White: Determine if you want color printing or black and white.

Step 4: Assemble the Planner
Arrange Sections: Organize the printed inserts into the binder in a logical and user-friendly order.
Additional Elements: Add dividers, pockets, or other accessories as needed.

Step 5: Personalize the Leather Binder
Embossing/Engraving: Get your name or a design embossed on the cover.
Decorations: Add any additional decorative elements like stickers or bookmarks.

Leave a Message
loading
Technical Support: Magic Lamp
Whatsapp
Send an Email