banner
Home - Products - Book Printing - Hardcover book
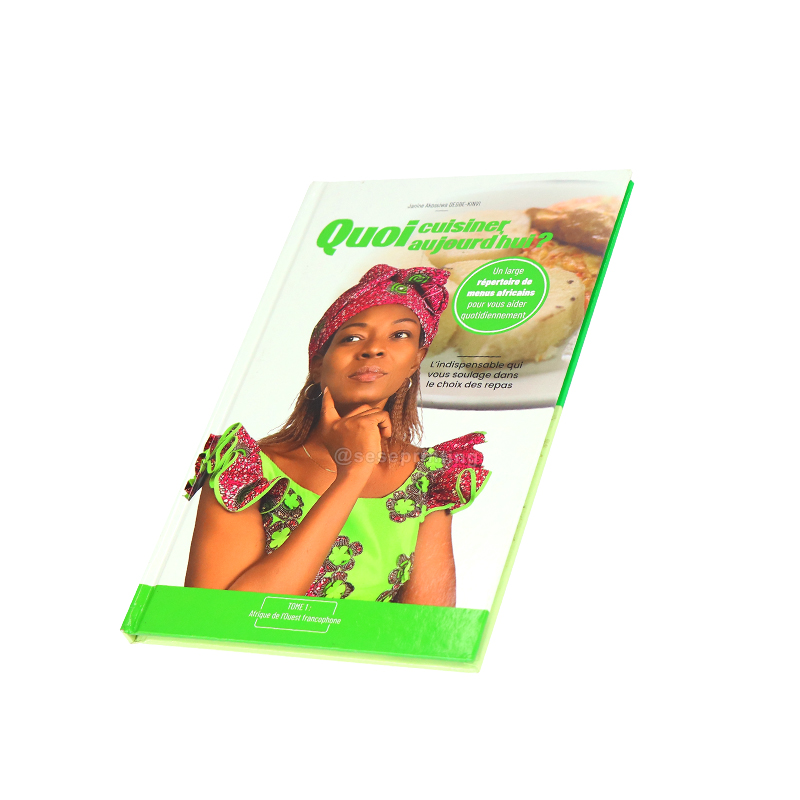
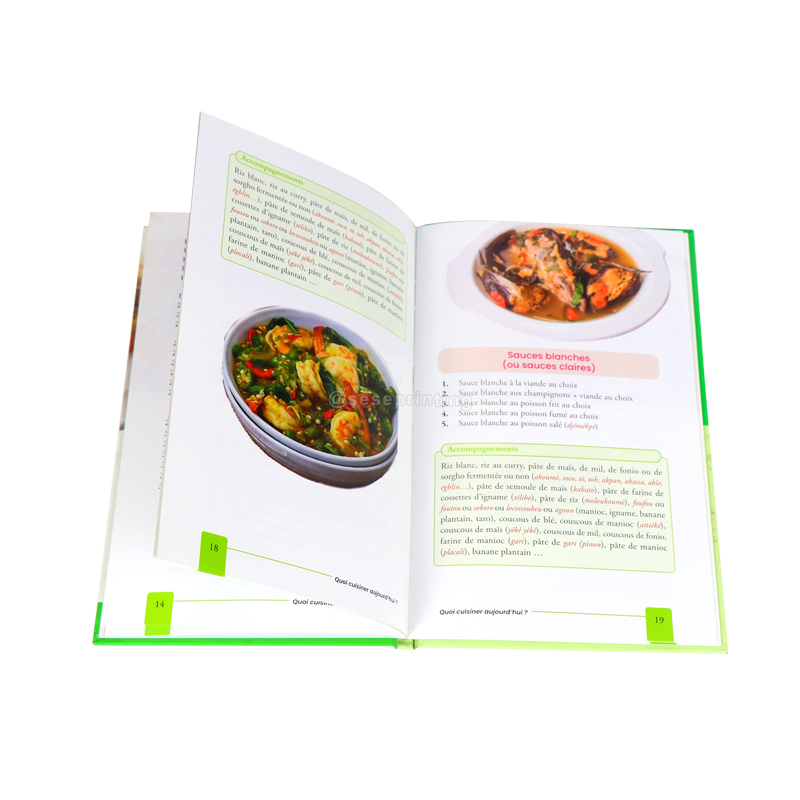
Publishing Printing Book Custom Cookbook Hardcover Recipe Book

Publishing Printing Book Custom Cookbook Hardcover Recipe Book

Book Name: Recipe Book
Finishing: Glossy Lamination Cover
Color: CMYK or PANTONE
Printing: Offset printing
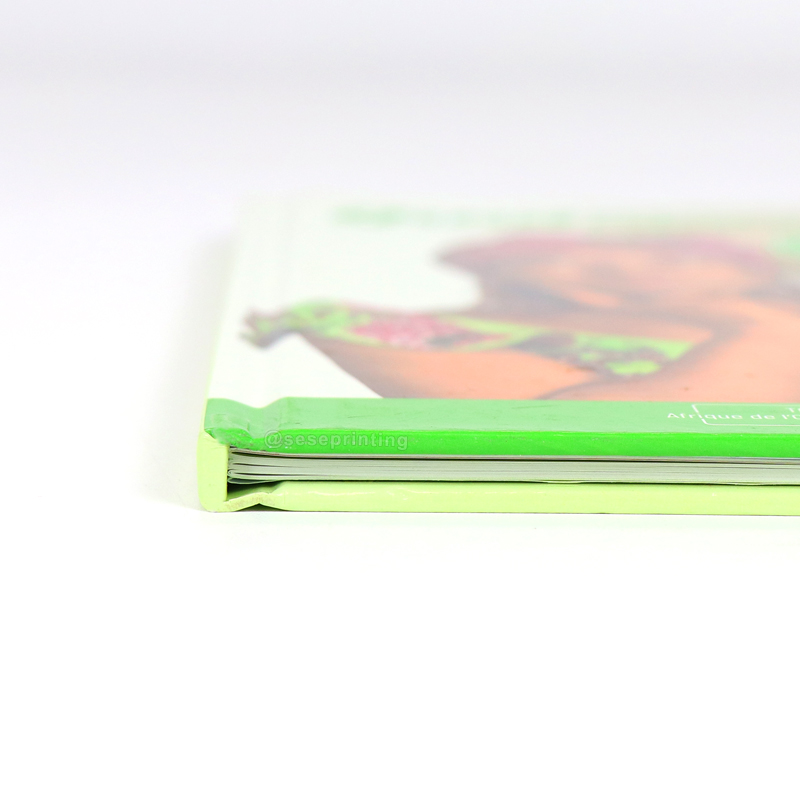
Binding: Hardcover Binding
Size: Customized
OEM/ODM: Accept
Produt Details

Publishing Printing Book Custom Cookbook Hardcover Recipe Book

Product details

Product Name  Recipe Book Printing
Material Glossy/Matt Art Paper, Offset Paper, Woodfree Paper, Writing Paper, Light Coated Paper, Special Type Paper, Grey Board, Kraft Paper, Coated Paper, And so On.
Binding Thread Sewing Binding, Saddle-Stitching Binding, Wire-O Binding, Spiral Binding, Perfect Binding, Case Bound, Etc.
Certification ISO9001, SA8000, FSC
Design From Clients,OEM
Size Decided by Client
Printing CMYK or Pantone
Artwork Format AI, PDF, ID, PS, CDR
Finishing Gloss or Matt Lamination, Spot UV, Emboss, Deboss and Sprayed Edges

Book Size

Full Color Printing

Glossy Lamination Cover

Hardcover Binding

How to get started printing your own recipe book?

Step 1: Plan Your Content
Organize Recipes: Categorize your recipes into sections such as appetizers, main courses, desserts, etc.

Include Additional Content: Consider adding a table of contents, an introduction, cooking tips, and personal anecdotes to make your book unique.

Step 2: Create a Layout
Choose a Size: Decide on the size of your book. Common sizes for recipe books are 8.5x11 inches or 6x9 inches.

Margins and Bleed: Set up margins and include bleed if you want images or backgrounds to extend to the edge of the page.

Font and Typography: Choose a readable font for your text and ensure consistent typography throughout the book.

Page Numbers: Decide where to place page numbers and consider using headers or footers for a professional look.

Step 3: Design the Cover
Eye-Catching Cover Image: Select a high-resolution image that represents your cooking style or a tantalizing image of one of your recipes.

Title and Author: Clearly display the title of your book and your name as the author.

Spine Design: If your book is thick enough, design the spine with the title and author for visibility on bookshelves.

Step 4: Include Visuals
High-Quality Images: Use high-resolution images of your prepared recipes. Consider hiring a photographer or investing in good photography equipment for a professional look.

Graphics and Icons: Add graphics, icons, or illustrations to enhance the visual appeal.

Step 5: Printing Options
Printing Method: Decide whether you want to print on-demand, self-publish through a printing service, or go for traditional printing methods.

Paper Quality: Choose a paper type that complements the content. Glossy paper is suitable for vibrant images, while matte paper offers a more sophisticated look.

Cover Finish: Decide on a cover finish—options include matte, glossy, or a special finish like embossing.

Step 6: Binding
Binding Type: Choose a binding method that suits your book's thickness. Options include perfect binding, spiral binding, or even a hardcover.

Spine Width: If opting for a printed spine, ensure it's wide enough to accommodate the title and author.

Step 7: Proofreading
Proofread Content: Before sending your book for printing, thoroughly proofread all content to catch any errors.

Test Print: Consider printing a sample or prototype to check colors, layout, and overall presentation.

Step 8: Printing and Distribution
Select a Printer: Choose a reputable printer that offers the quality and options you desire.

Distribution: Decide how you'll distribute your recipe book—whether through local stores, online platforms, or as gifts to friends and family.

Leave a Message
loading
Technical Support: Magic Lamp
Whatsapp
Send an Email